Use a GitHub app in a GitHub connector
Harness supports API access to GitHub using a GitHub App.
GitHub recommends using GitHub Apps when integrating with GitHub. GitHub Apps offer more granular permissions to access data than typical authentication methods.
Harness supports GitHub Apps in its Harness GitHub Connector.
For more information, see GitHub Connector Settings Reference. Also, if you're new to GitHub apps, see About apps and Installing GitHub Apps from GitHub
Before you begin
Review: Requirements
One or more of the following GitHub permissions are required:
- You have the GitHub permissions required to install GitHub Apps on your personal account or under any organization where you have administrative access.
- If you have admin permissions in a GitHub repo in a GitHub organization, you can install GitHub Apps in that repo.
- If a GitHub App is installed in a repository and requires an organization's permission, the organization owner must approve the application.
Step 1: Create a GitHub app
You can create and register a GitHub App under your personal account or under any organization where you have administrative access. You create your GitHub App in your personal account, and then register it where you have the required GitHub permissions.
See Creating a GitHub App from GitHub.
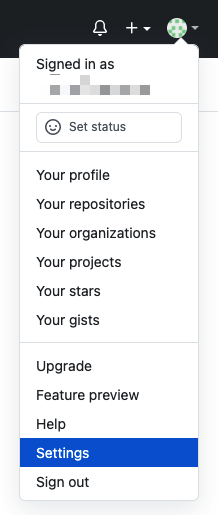
In your GitHub personal account, click Settings.
 Click Developer settings.
 Click New GitHub App.
Enter the following settings, and then click Create GitHub App.
- GitHub App name: enter the name for your app.
- Homepage URL: enter https://harness.io/.
- Webhook: uncheck Active.
- Repository permissions:
- Administration: select Access: Read & write.
- Commit statuses: select Access: Read & write.
- Contents: select Access: Read & write.
- Metadata: select Access: Read-only.
- Pull requests: select Access: Read & write. This permission is required for the Issue Comment event trigger for Github.
- Webhooks: select Read & write.
- Where can this GitHub App be installed? Select Any account.
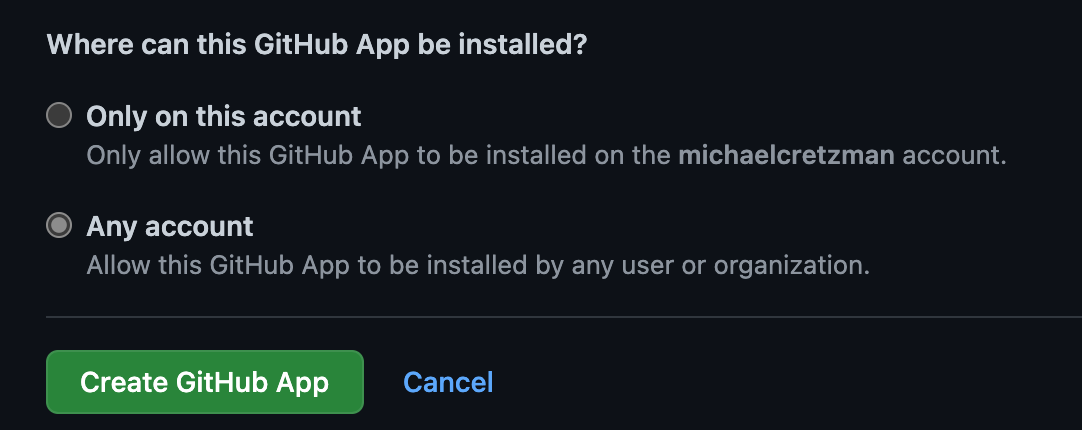 The app is created.
By default the application you created is Public.
If your application is Private, make sure to make it Public.
To do this, open the app by clicking Edit.
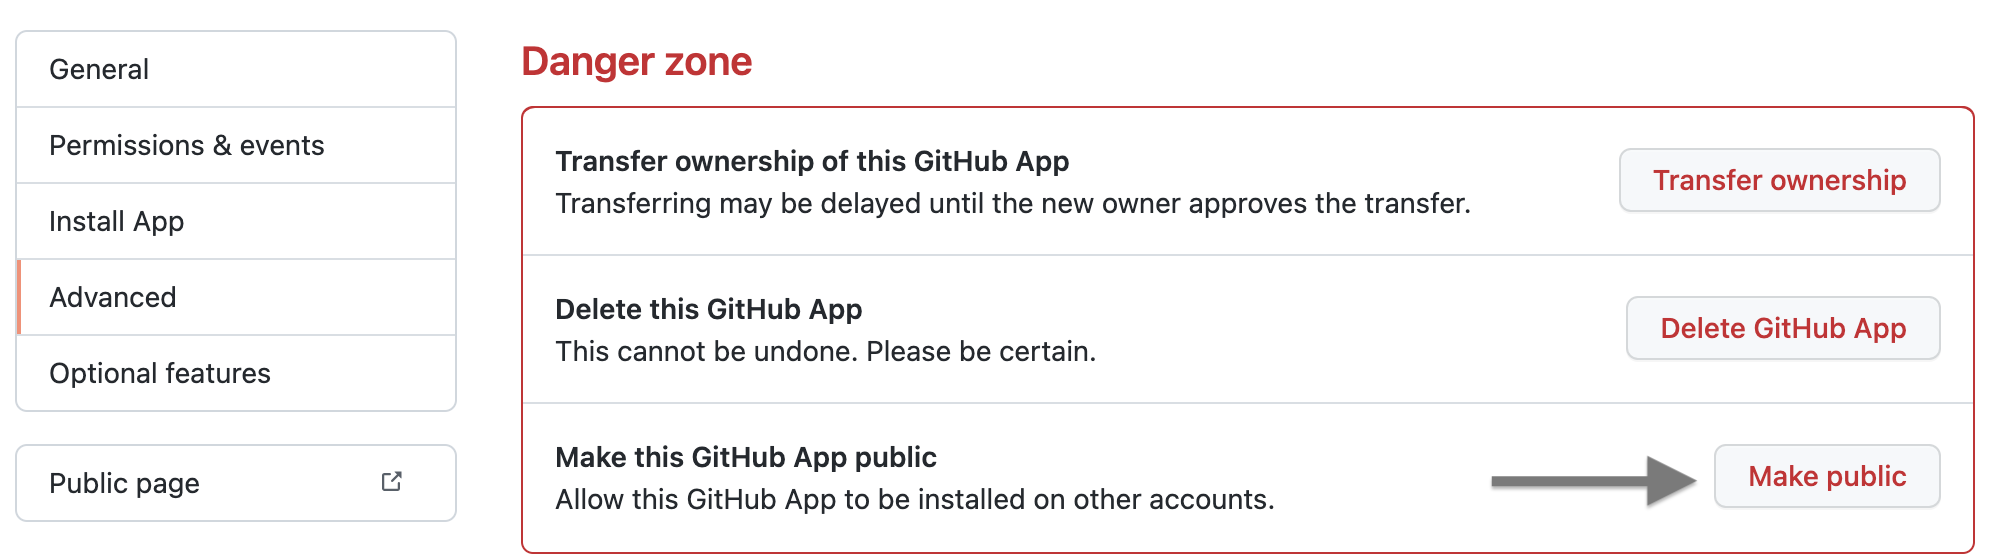
Select Advanced.
In Make this GitHub App public, click Make public, and click OK.
 Now you can install the app.
Step 2: Install the GitHub App
In the same GitHub App, click Install App.
In Repository access, select Only select repositories, and then select the same repo you are connecting with Harness.
In Permissions, set the following permissions:
- Read access to metadata
- Read and write access to code, commit statuses, and pull requests
Install the new app.
Once the app is installed, you'll need to record the following information to use in the Harness Connector:
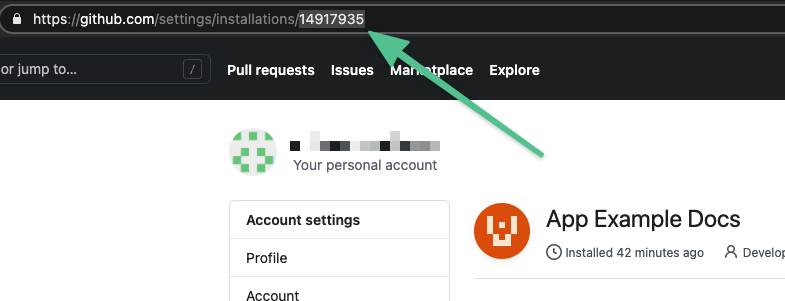
- Installation ID: the Installation ID is located in the URL of the installed app.

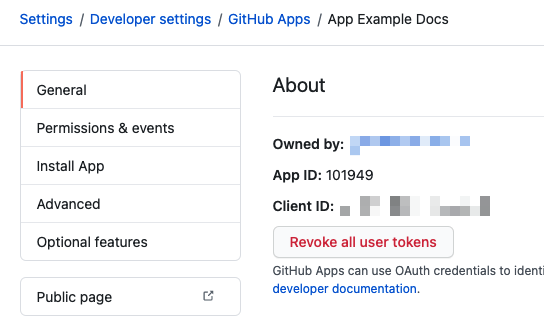
- App ID: the App ID is located in the GitHub app's General tab.
Step 3: Generate and Download Key
Now we'll create the private key for the GitHub app that you will use in your Harness Connector.
Open the GitHub app you created.
In Private keys, click Generate a private key.
 Download the private key to your local machine.
Open a terminal and navigate to the folder containing the key.
Run the following command, replacing <your-key>.pem with the name of your PEM file:
openssl pkcs8 -topk8 -inform PEM -outform PEM -in <your-key>.pem -out converted-github-app.pem -nocrypt
In the next step, you'll add the file as a new Harness file secret.
Step 4: Create a Harness Secret with the Key Value
In Harness, click the account, org, or project where you want to store your secret.
Click Project Setup, and then click Secrets.
Click New Secret, and then click File.
In Secrets Manager, select a Secrets Manager. See Harness Secrets Manager Overview.
In Secret Name, enter a name for the secret. You'll use this name to select the secret in Harness Connectors and other settings.
In Secret File, upload the PEM file.
Click Save.
Now we can add the GitHub app to the Harness GitHub Connector.
Step 5: Use GitHub App and Secret in Harness GitHub Connector
Create or open the GitHub Connector used in your Pipeline codebase. For steps on creating the Connector, see GitHub Connector Settings Reference.
You can open a Connector from Resources in an account, org, or project, or from the stage's settings.
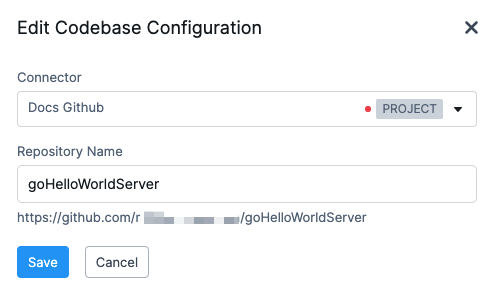
For example, in a CI stage, click Codebase. The Connector for the codebase is displayed.
 Click the Connector, and then click the edit button. The GitHub Connector is displayed.
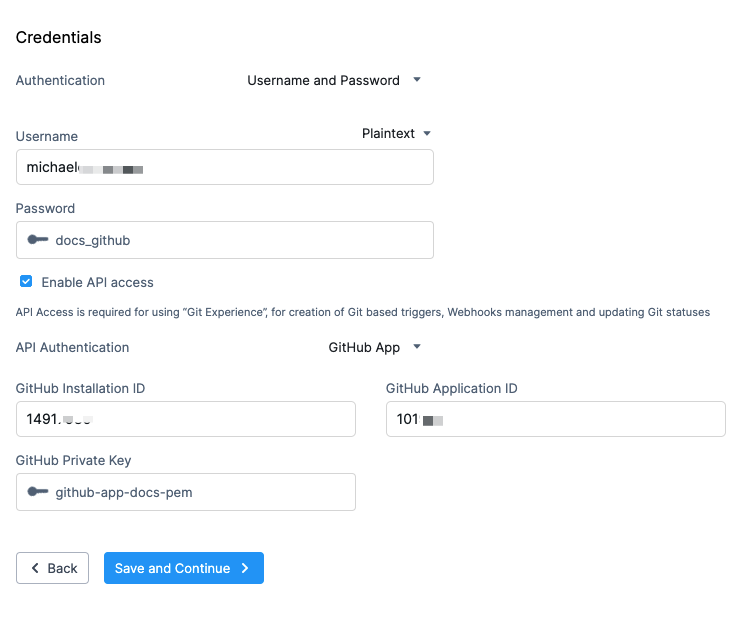
In the Connector Credentials, enter a username and Personal Access Token (PAT), and then select Enable API access.
In API Authentication, select GitHub App.
Enter the following settings:
GitHub Installation ID: enter the Installation ID located in the URL of the installed GitHub App. You can use either plaintext or a Harness encrypted text secret.
GitHub Application ID: enter the GitHub App ID from the GitHub App General tab. You can use either plaintext or a Harness encrypted text secret.

GitHub Private Key: select the Harness secret you created for the PEM file key.
When you're done, the settings will look something like this:
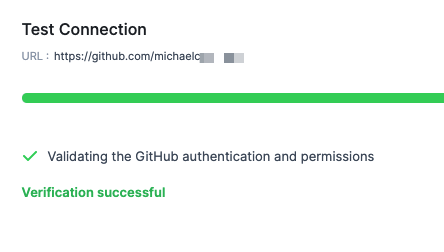
Click Save and Continue. The connection and authentication is verified.
Click Finish.
Now you can run a Pipeline and verify that the GitHub app credentials are working.
Step 6: Test GitHub Connector
Run a Pipeline that uses the GitHub Connector configured with the GitHub app credentials.
For PR events, use a Git Webhook Trigger to execute the Pipeline.
Make sure the Webhook definition in GitHub sends events for Pull Request in its Events settings.
If you haven't set a Git Webhook Trigger up, see Trigger Pipelines using Git Events.The Git Webhook Trigger should use the same repo as the GitHub App used in your Connector.
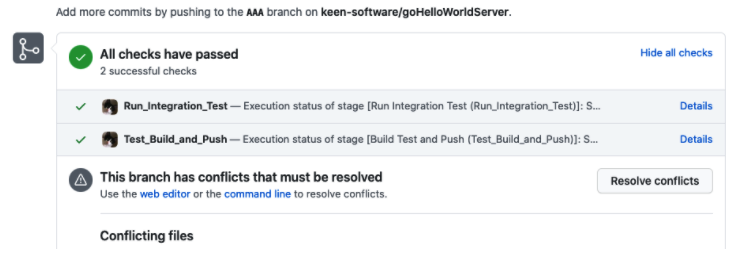
You can see the build stages status in the GitHub PR view.