Secure delegates with tokens
Delegate tokens are used by Harness to encrypt communication between Harness Delegates and the Harness Manager. By default, when a new Harness account is created, all Harness Delegates in that account include the same token.
You can further secure Delegate to Harness communication by replacing the default Delegate token with new tokens. You can add and revoke Delegate tokens per your governance policies and replace revoked tokens with custom tokens when needed.
Step 1: Generate a new token
You can generate a new token when you create a Delegate or as a separate process.
Generate a token when creating a delegate
When you create a new Delegate, you can generate a new token.
In Delegate Setup, in Delegate Tokens, click Add, and then name and apply the new token:
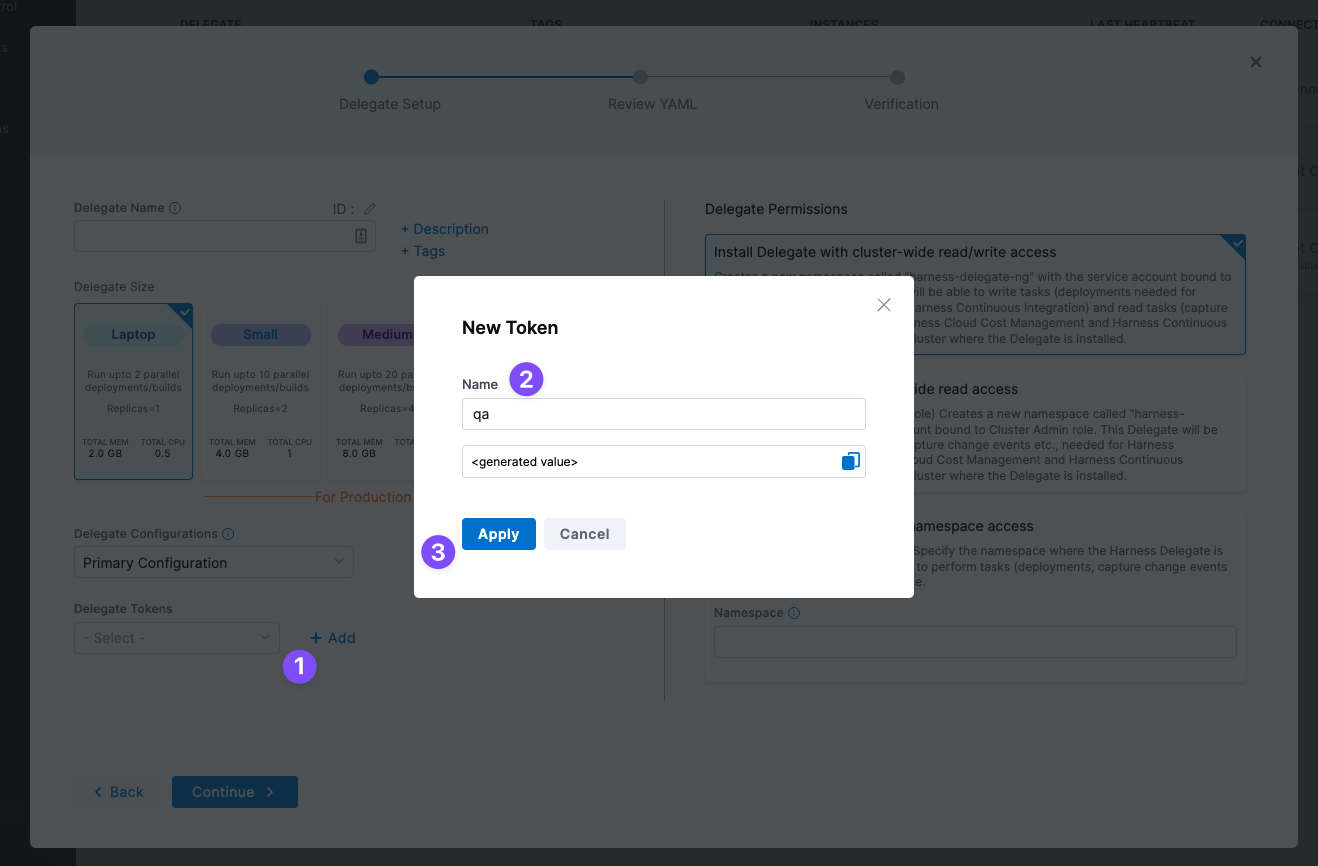
The new token is created and its value is copied to your system clipboard. The new token also appears in the list using the name you gave it.
Save the new token value. You cannot retrieve the token value after this.
Now you can update the Delegate(s) with the new token.
In Delegate Tokens, select the new token.
Generate a token without creating a delegate
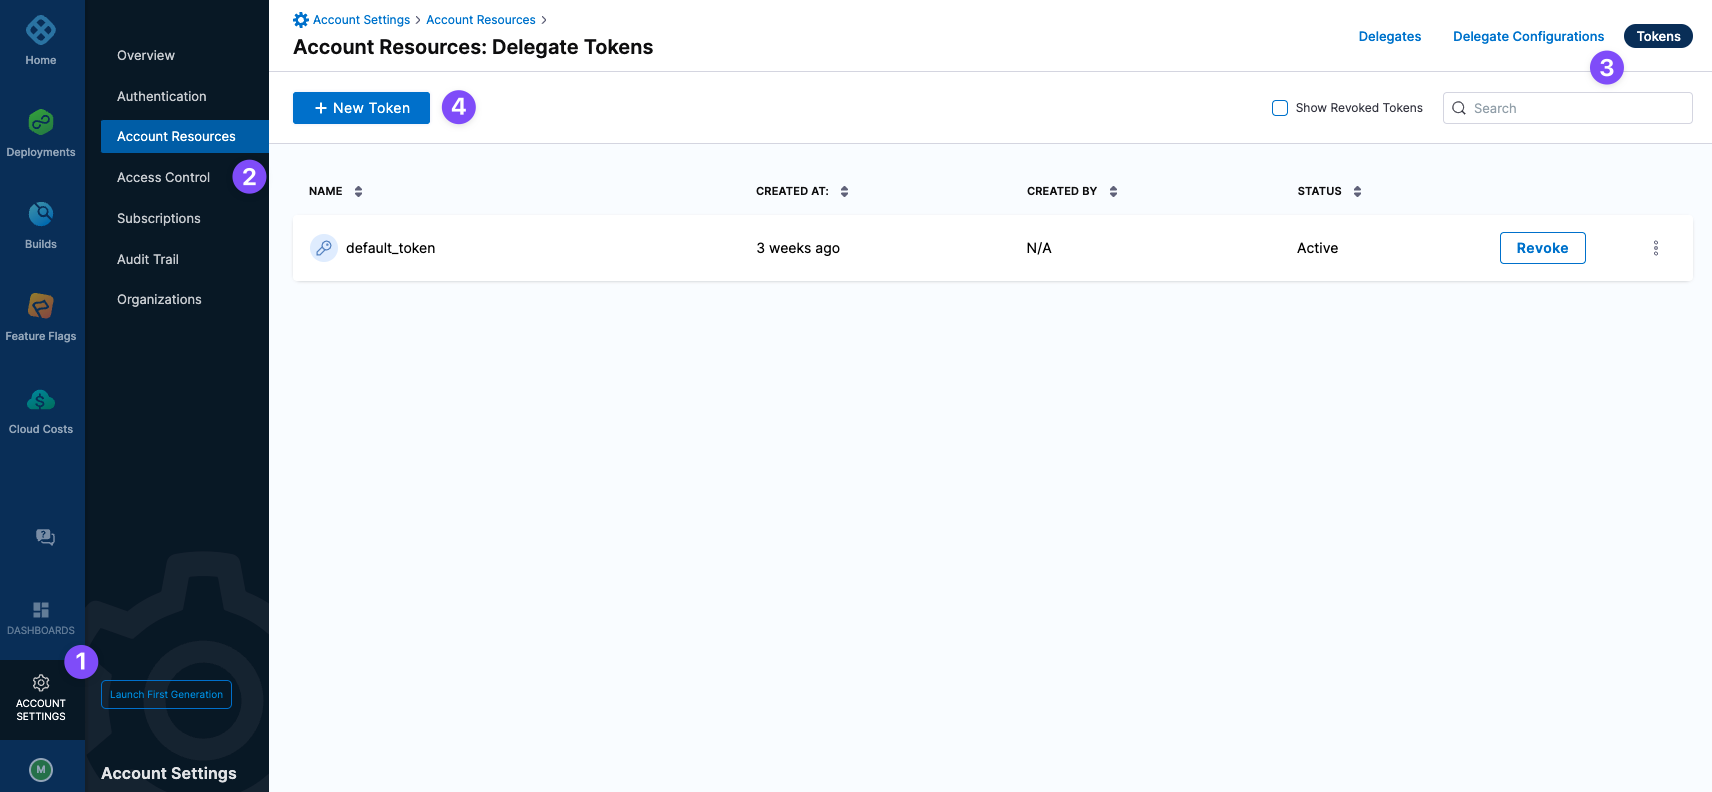
In Harness, click Project Setup > Delegates in a Project or Account Settings > Account Resources > Delegates for the entire account.
Click Tokens. Here you can see, create, and revoke all Delegate tokens.
Click New Token.
Here's an Account Settings example:
Enter a name for the new token, and then click Apply.
You can copy the token and save it somewhere safe, if needed.
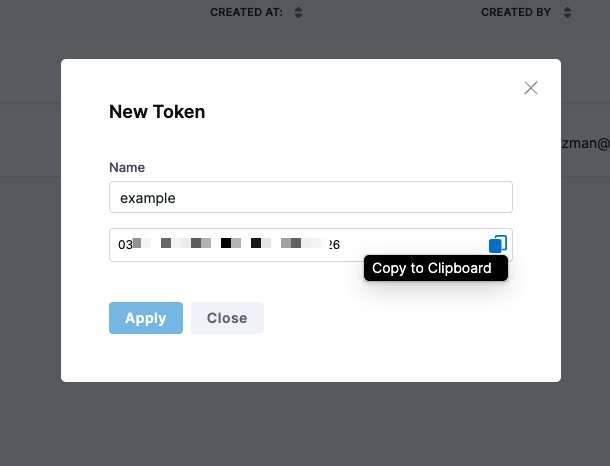
The new token is created and its value is copied to your system clipboard. The new token also appears in the list using the name you gave it.
Save the new token value. You cannot retrieve the token value after this.
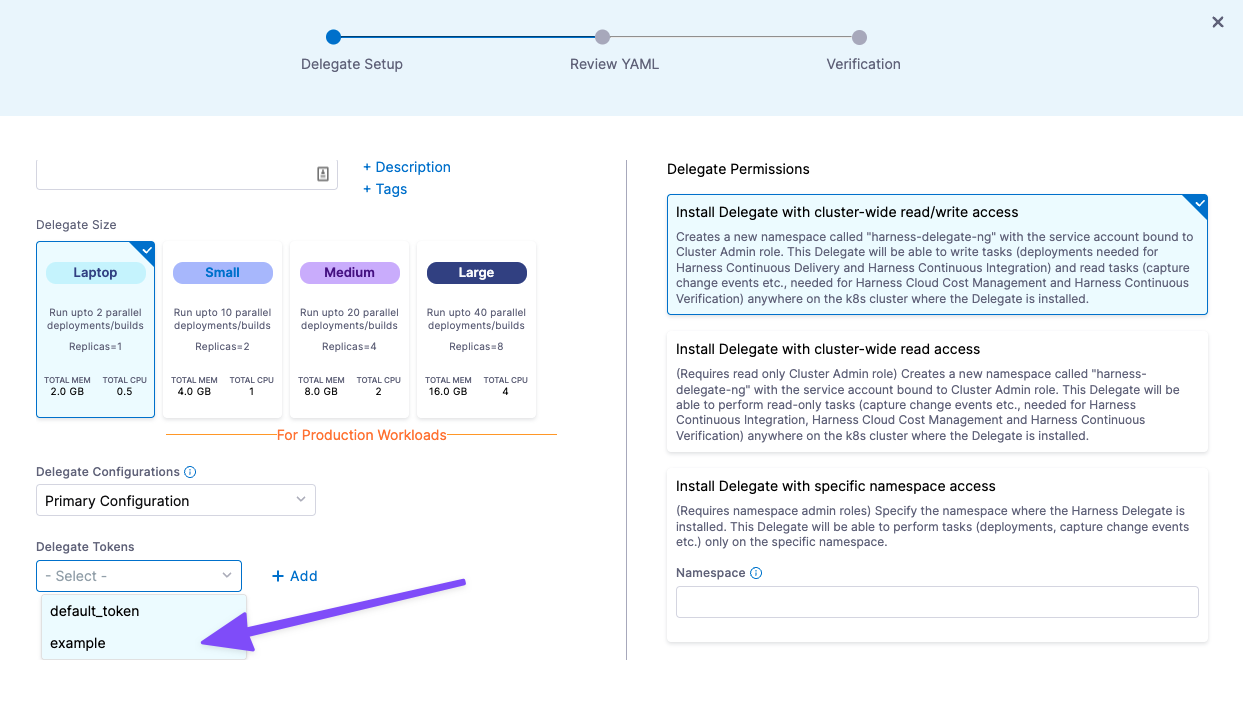
When you install a new Delegate, you can select the token to use:
Option: Update and restart existing delegate
You can update an existing Delegate with a new token value and then restart the Delegate.
Kubernetes delegate
The Delegate is set up using the harness-delegate.yaml you downloaded originally.
Edit the harness-delegate.yaml you downloaded originally with the new token and then run kubectl apply -f harness-delegate.yaml to restart the Delegate pods.
Paste the token into the delegate spec of the Secret, in the UPGRADER_TOKEN field. Then paste the token into the specification of the Secret in the DELEGATE_TOKEN field.
...
---

apiVersion: v1
kind: Secret
...
type: Opaque
data:
  UPGRADER_TOKEN: "[enter new token here]"
...
---

apiVersion: v1
kind: Secret
...
type: Opaque
data:
  DELEGATE_TOKEN: "[enter new token here]"

...
Run kubectl apply -f harness-delegate.yaml
The Delegate pods get restarted automatically. The pods will restart and take the updated settings.
Docker delegate
You will destroy and recreate the container using the docker-compose.yml you downloaded originally.
Paste the token in the Delegate settings:
version: "3.7"
services:
  harness-ng-delegate:
    restart: unless-stopped
    deploy:
      resources:
        limits:
          cpus: "0.5"
          memory: 2048M
    image: harness/delegate:23.01.78102
    environment:
      - ACCOUNT_ID=12345678910
      - ACCOUNT_SECRET=[enter new token here]
      - MANAGER_HOST_AND_PORT=https://app.harness.io
      - WATCHER_STORAGE_URL=https://app.harness.io/public/pro
...
Create a new container: docker-compose -f docker-compose.yaml up -d.
You can verify that the environment variable has the new token using docker exec [container ID] env.
Option: Revoke tokens
On the Tokens page, click Revoke to revoke any token.
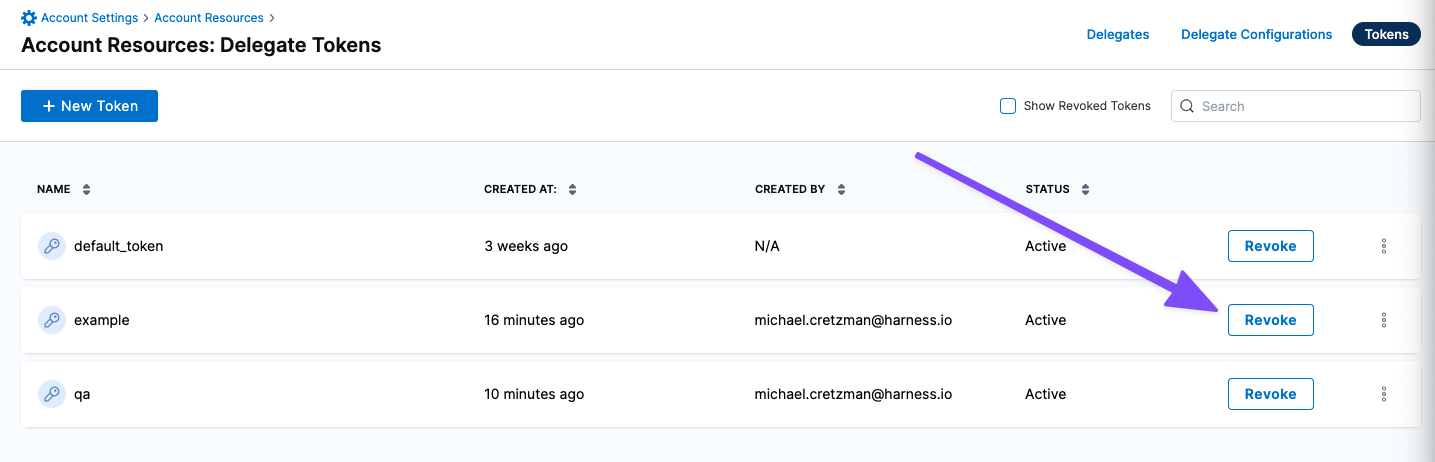
Click Revoke. The token is revoked. The Harness Manager will not accept connections from any Delegates using this revoked token.