Add and reference file secrets
You can upload encrypted files and use them in your resources like Pipelines and Connectors, in the same way as encrypted text.
This topic describes how to add an encrypted file in Harness.
Step 1: Add Encrypted File
This topic assumes you have a Harness Project set up. If not, see Create Organizations and Projects.
You can add an encrypted file at Project/Organization/Account scope. To do this, go to Project setup, Organization, or Account Resources.
Click Secrets.
Click Secret and select File.
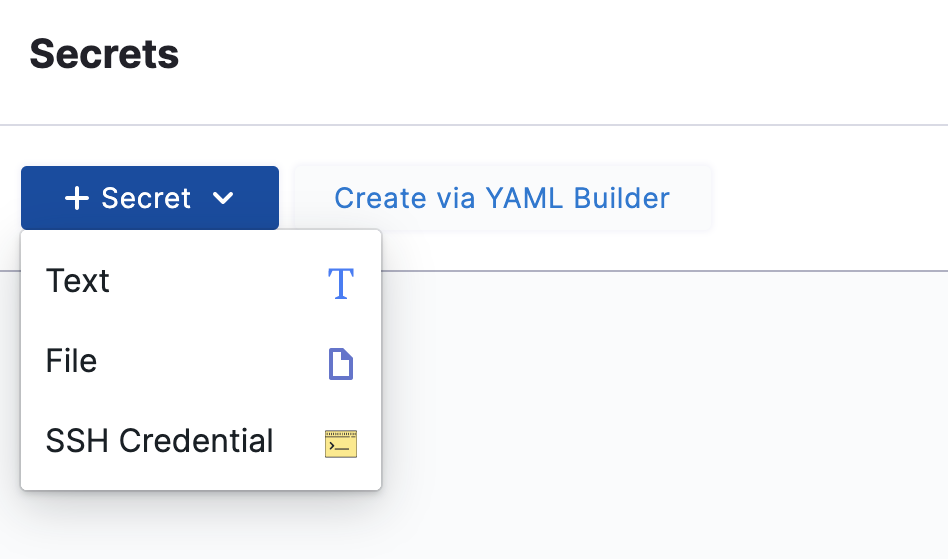 The Add new Encrypted File settings appear.
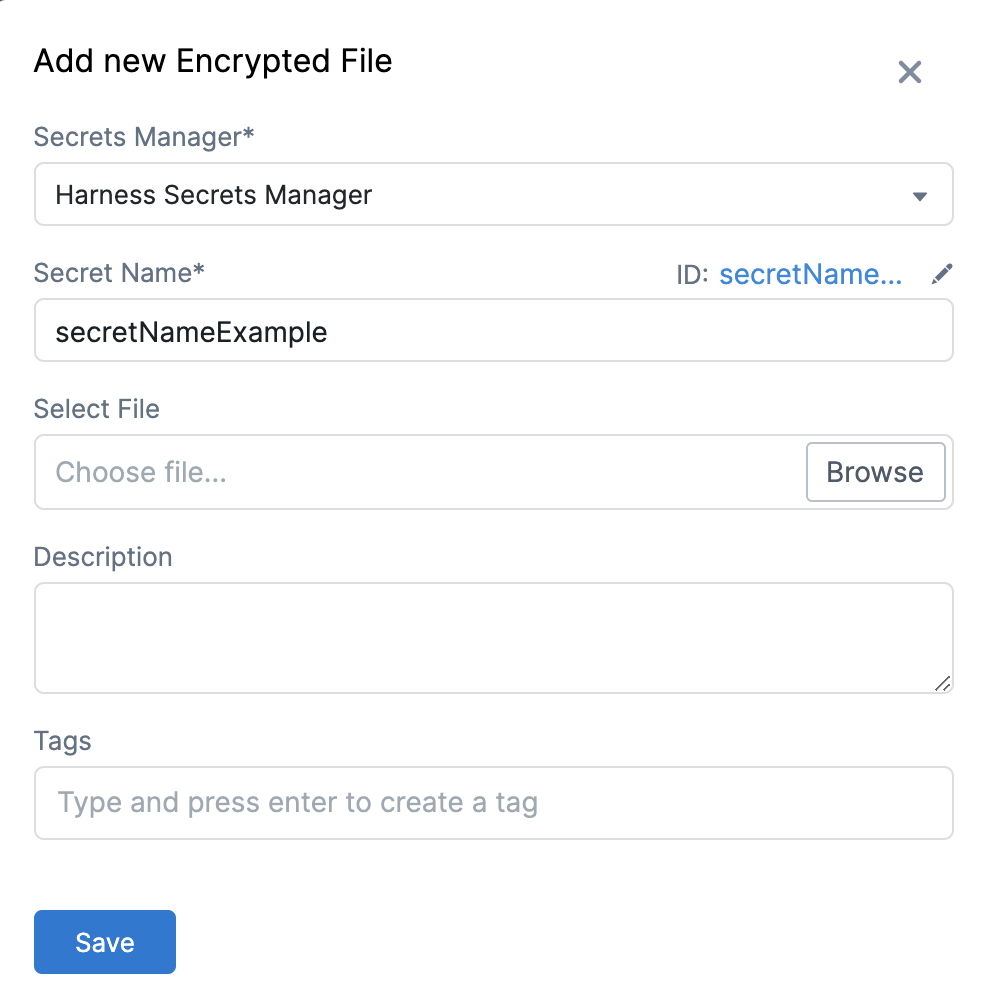 Select the Secrets Manager you will use to encrypt this secret.
Enter a name for the encrypted file. You will use this name to reference the file in your resources.
Click Browse to locate and add a file. The default Secrets Manager for your account is used to encrypt the file.
Enter Description for your secret.
Enter Tags for your secret.
Click Save.
Step 2: Reference the Encrypted File by Name
You can reference the encrypted file in any resource that uses files.
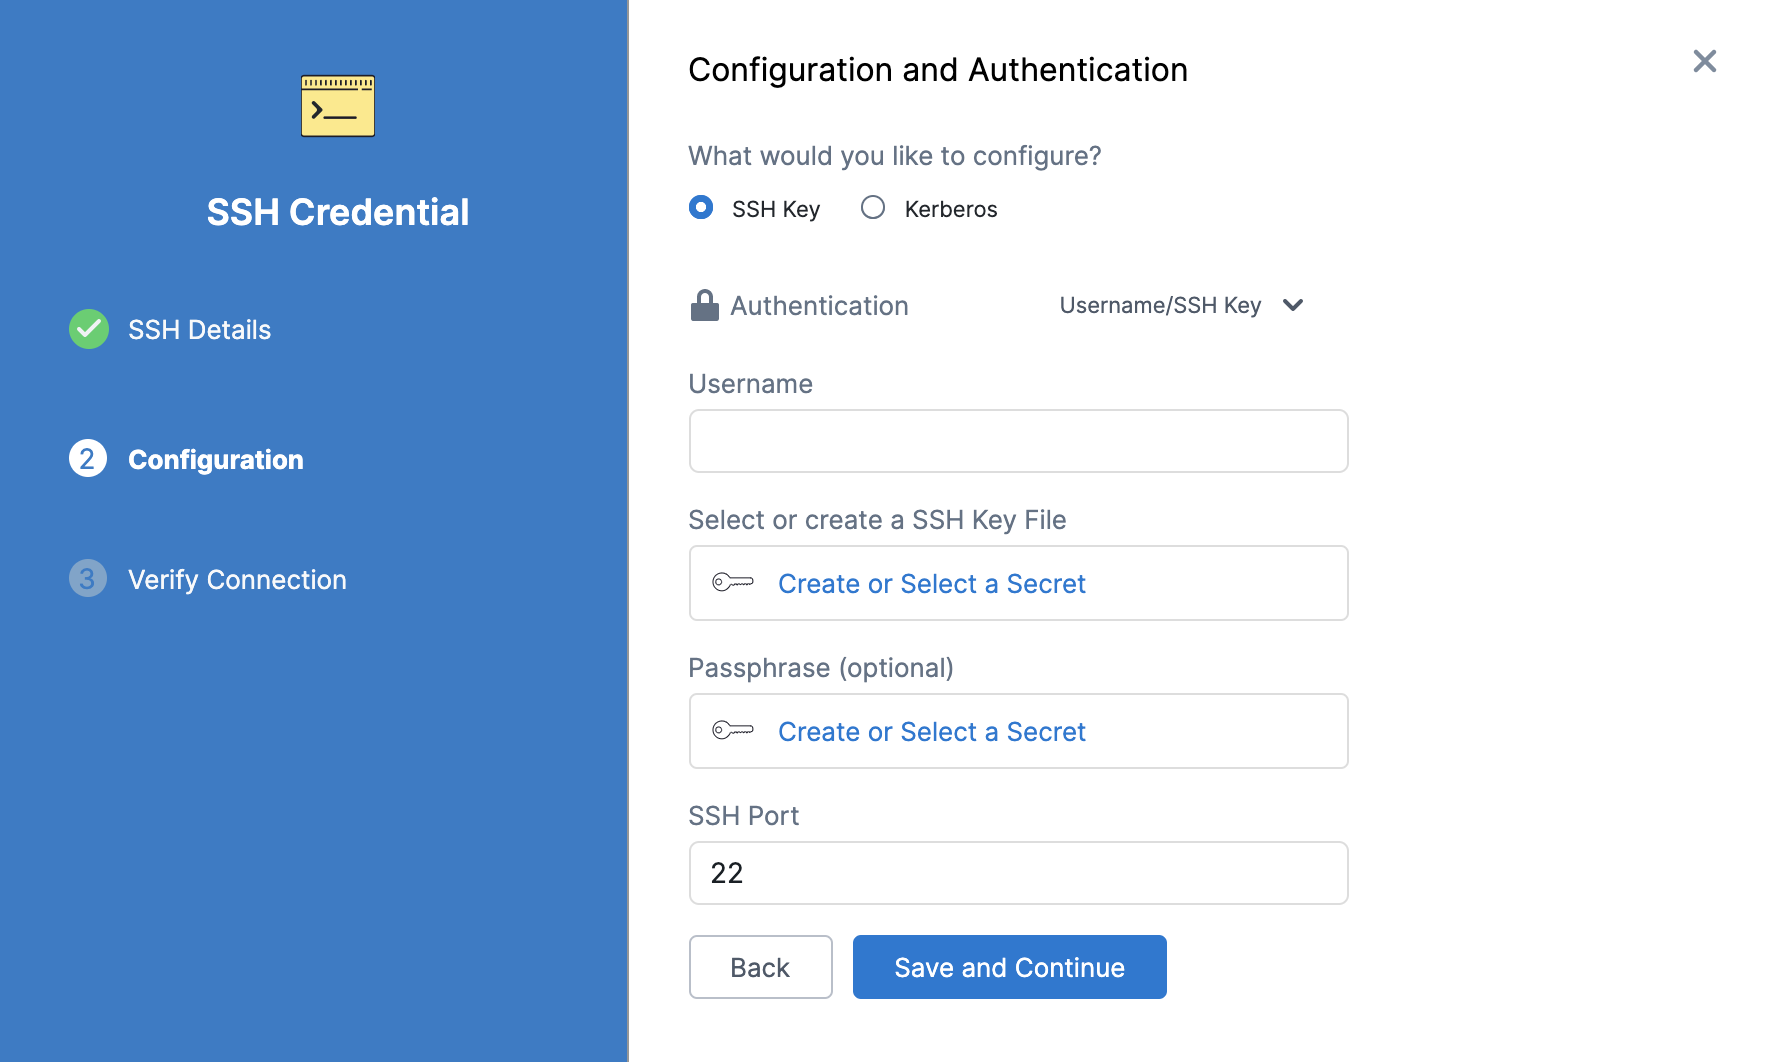
For example, in the following Configuration and Authentication dialog, click Create or Select a Secret under Select or Create a SSH Key File:
 Click Select an existing Secret in the dialog and the dropdown lets you choose the file you added in Secret Management:

Step 3: Reference the Encrypted File by Identifier
For an Encrypted File secret at the Project scope, you reference the secret in a Resource using its identifier and the expression:
<+secrets.getValue("file-secret-Id")>
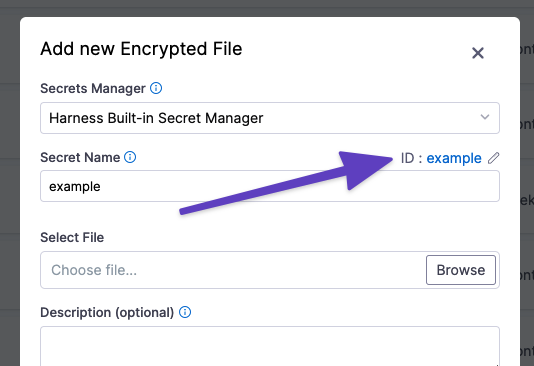
The identifier is immutable and is located in the secret settings:
 Always reference a secret in an expression using its identifier. Names will not work.You can reference a secret at the Org scope using an expression with
 org:
<+secrets.getValue("org.file-secret-Id")>
If your secret is scoped at the Account level, you can refer it using account:
<+secrets.getValue("account.platformSecret-Id")>