Deploy a Helm Chart
Pick the Harness CD & GitOps plan you are using from the tabs below to get started. If you don't have a plan yet, then sign up for the Free plan.
- Free/Team/Enterprise Plans (SaaS)
- Community Edition (Self-Managed)
You can use Harness CD & GitOps in the following ways.
Pipeline approach: In this case, the availability of a new artifact (as the output of CI) to deploy triggers a deployment pipeline that pushes the new artifact on deployment targets.
GitOps approach: In this case, the need to deploy a new artifact is specified in the GitOps repo first. The GitOps agent observes this change and then pulls this change onto the deployment target using a sync process
- Pipeline Approach
- GitOps Approach
Install Kubernetes Delegate
You will first install a delegate named my-harness-delegate on the Kubernetes cluster that is the deployment target using the Install Delegate tutorial.
Create a CD Pipeline
You are now ready to create your first Harness Pipeline. You will be deploying a WildFly Helm Chart coming from a public Helm Chart Repository. The following steps will walk you through how to create a Pipeline with those resources.
- Deployments -> Pipelines + Create new Pipeline
- Name: helm-pipeline
- Setup Pipeline: Inline
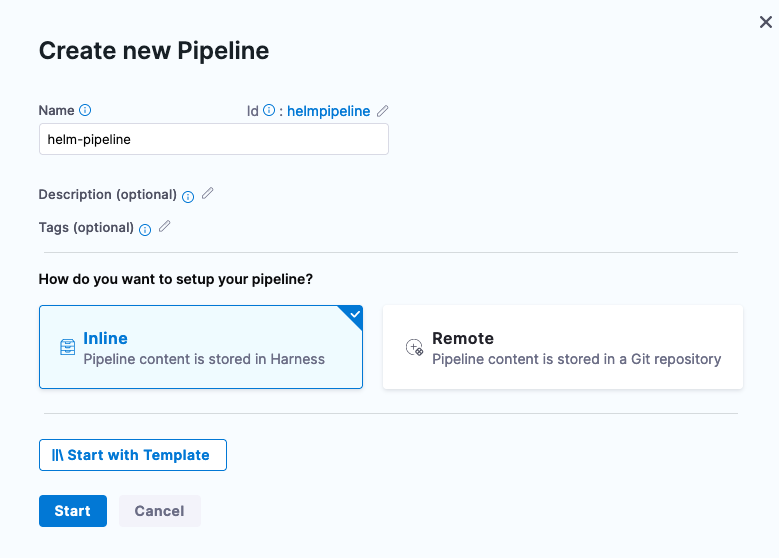
Click Start and now can add a Pipeline Stage by clicking the +Add Stage icon.
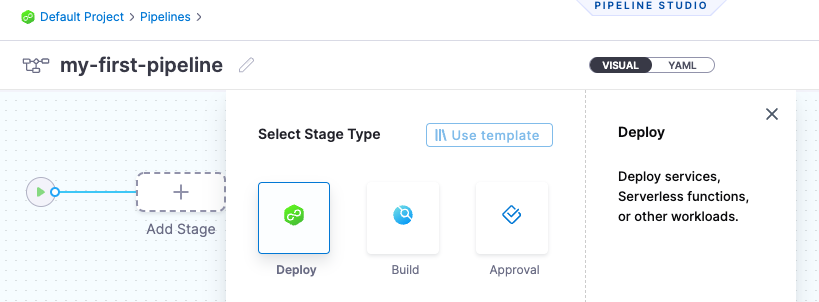
Select Deploy as the Stage. Next name the stage “Deploy Wildfly” as a type Service.
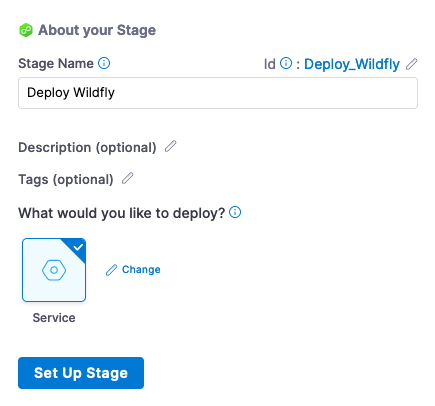
Then click Set Up Stage.
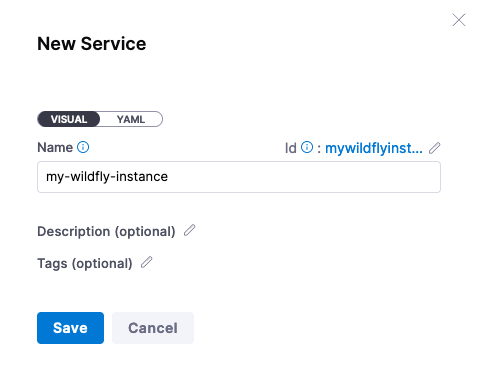
The first step is to define the Service e.g the “what” you are deploying by clicking on + New Service
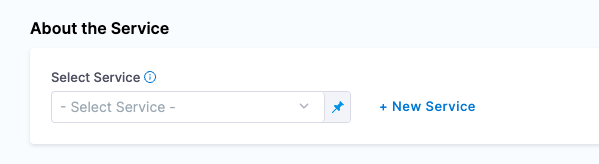
Name: my-wildfly-instance
Once Saved, the next step is to point to Bitnami’s WildFly Helm Chart. In the Service Definition section, select Native Helm as the Deployment Type. Then you can wire in the Helm Chart Repository information in the Manifest section.
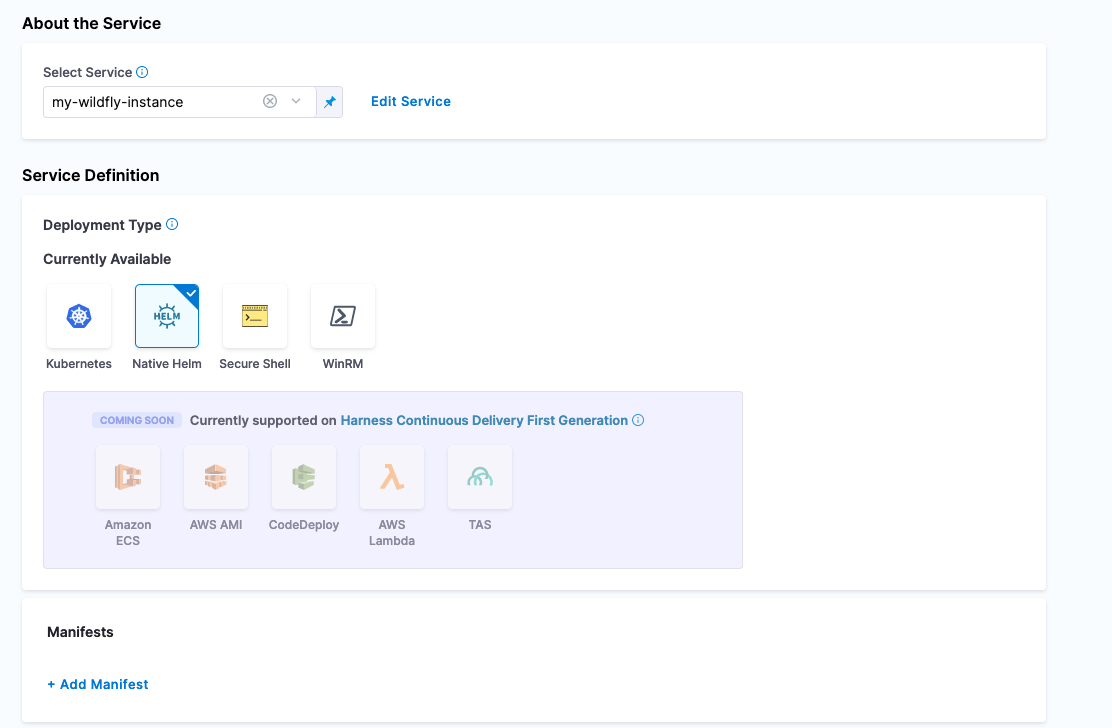
Click on + Add Manifest in the Manifests Section then select Helm Chart as the Manifest Type.

Click Continue and then select HTTP Helm as the Helm Chart Store. Create a new HTTP Helm Repo to connect to Bitnami’s Helm Chart Repository by clicking + New HTTP Helm Repo Connector. Follow the wizard.
- Name: bitnami-helm
- Helm Repository URL: https://charts.bitnami.com/bitnami
- Authentication: Anonymous

Click Continue and can specify which Harness Delegate you would want to run the Helm operations on. If using this example, can select “Use any available Delegate”.
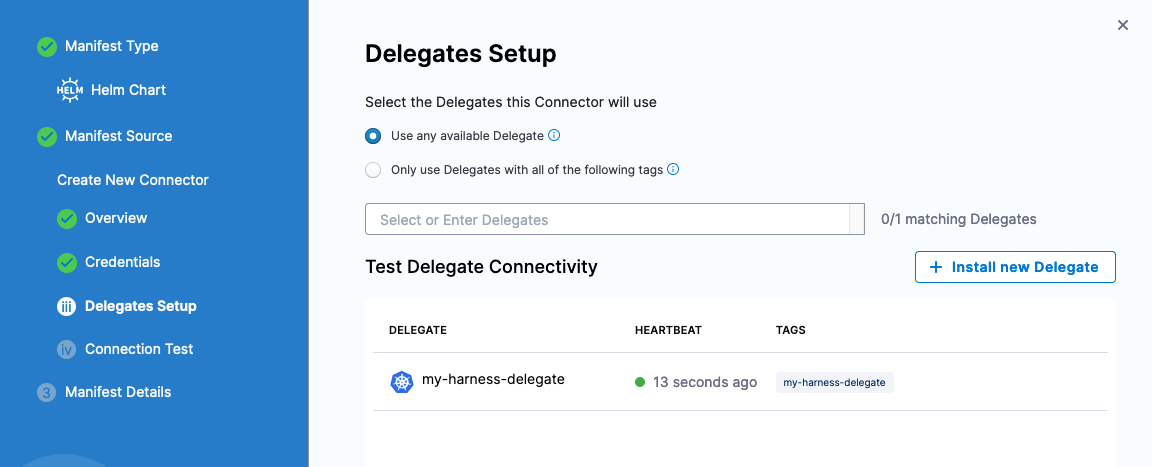
Click Save and Continue which will run through a Connection Test.
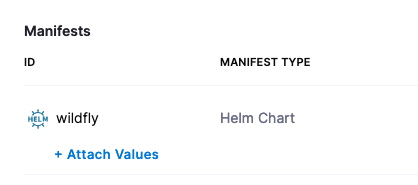
Now you can enter the Helm Chart information.
- Manifest Name: wildfly
- Chart Name: wildfly
- Helm Version: Version 3
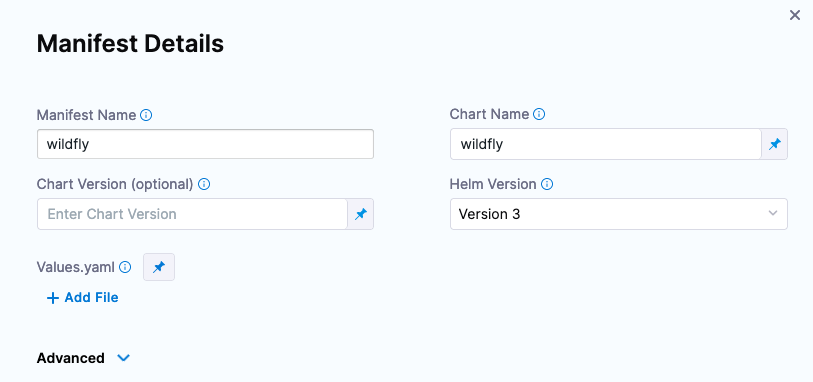
Click Submit, and the WildFly Helm Chart will be wired to your Harness Pipeline Stage.
With the Helm Chart wired in, now you can define the “where” or the target Kubernetes cluster to deploy your Helm Chart to.
Set Your Deployment Target
With the “what” out of the way, the next two steps are the “where” and “how”. Click Continue after wiring in the Helm Chart, and you will be brought to the Infrastructure configuration.
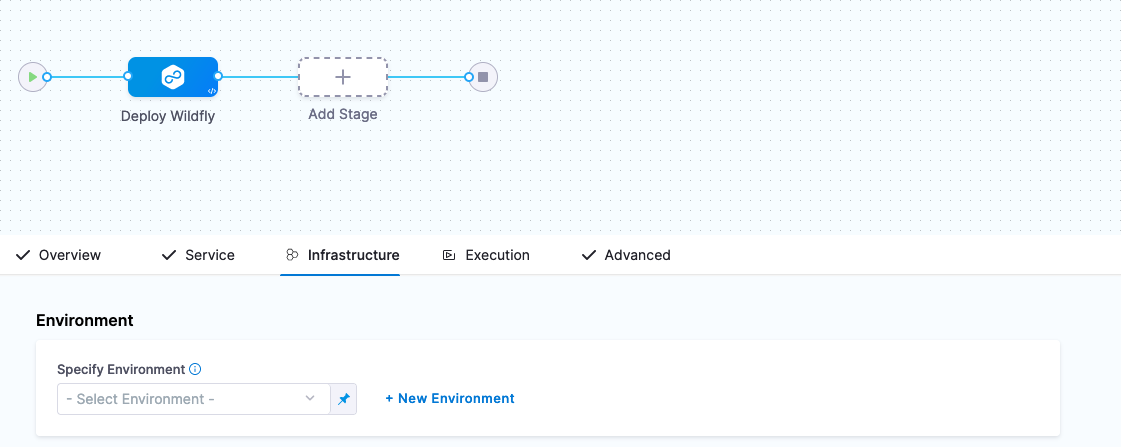
The object being set up here is a Harness Environment; naming and saving the “where” you are deploying.
You can create a new Harness Environment via the wizard by clicking on + New Environment.
- Name: my-k8s-environment
- Environment Type: Pre-Production
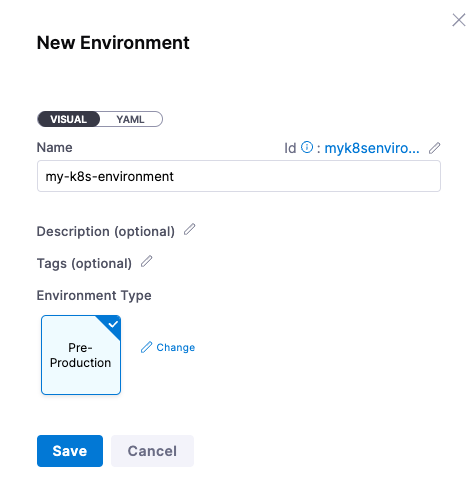
Click Save and now you are ready to wire in your Kubernetes cluster. Since your Delegate should be running in a Kubernetes cluster, you can create a reference to this cluster with a Cluster Connector.
Select “Direct Connection” Kubernetes then can fill out the Cluster Details with a New Connector.
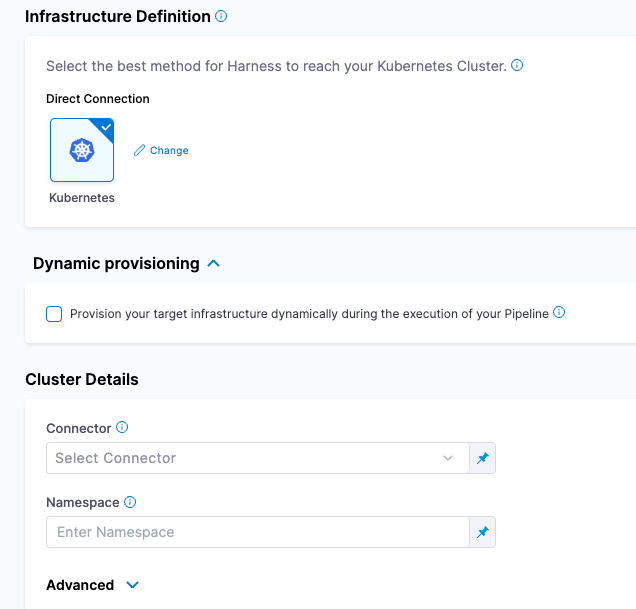
Click on Select Connector and then + New Connector
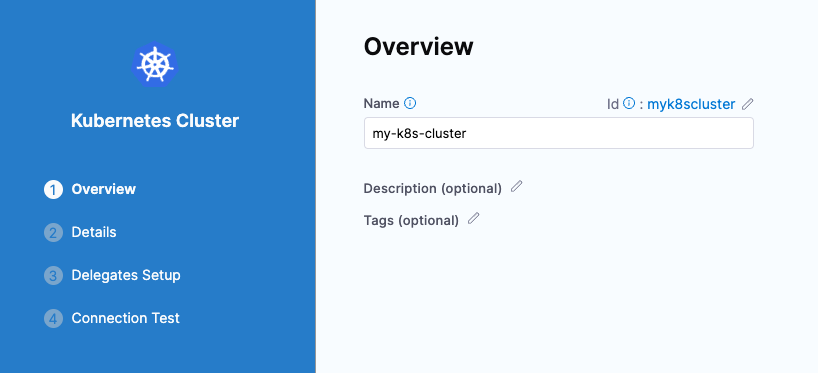
Once clicked on + New Connector, can give a name to your Kubernetes cluster.
Name: my-k8s-cluster
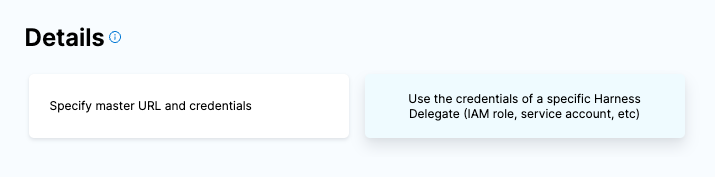
Click Continue and select “Use the credentials of a specific Harness Delegate” to connect.
Click Continue and select the Harness Delegate you installed into your Kubernetes Cluster e.g my-harness-delegate.
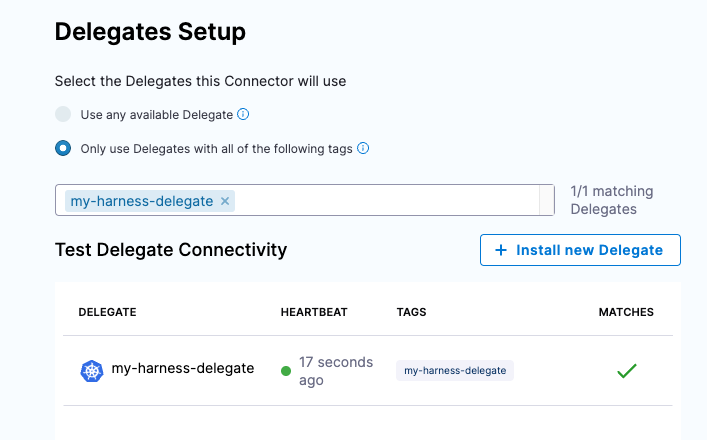
Click Save and Continue and a connectivity test will occur. Click Finish and you can enter a namespace that is available on the Kubernetes cluster.
- Namespace: default
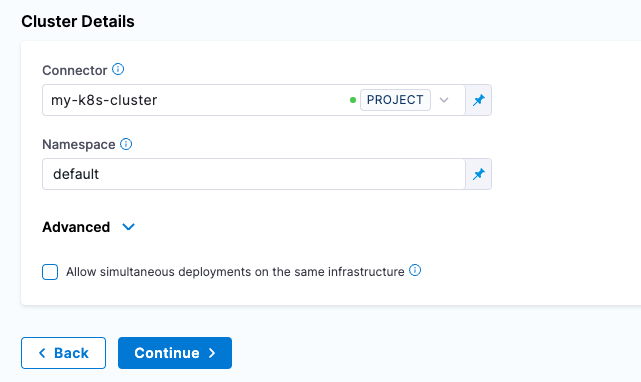
Click Continue and now you are ready to configure how you want your deployment to execute.
How Your Pipeline Deploys
Clicking Continue, you are now ready to configure the Execution Strategy or the “how” your Pipeline executes. For the example, a Rolling Deployment is simplest.
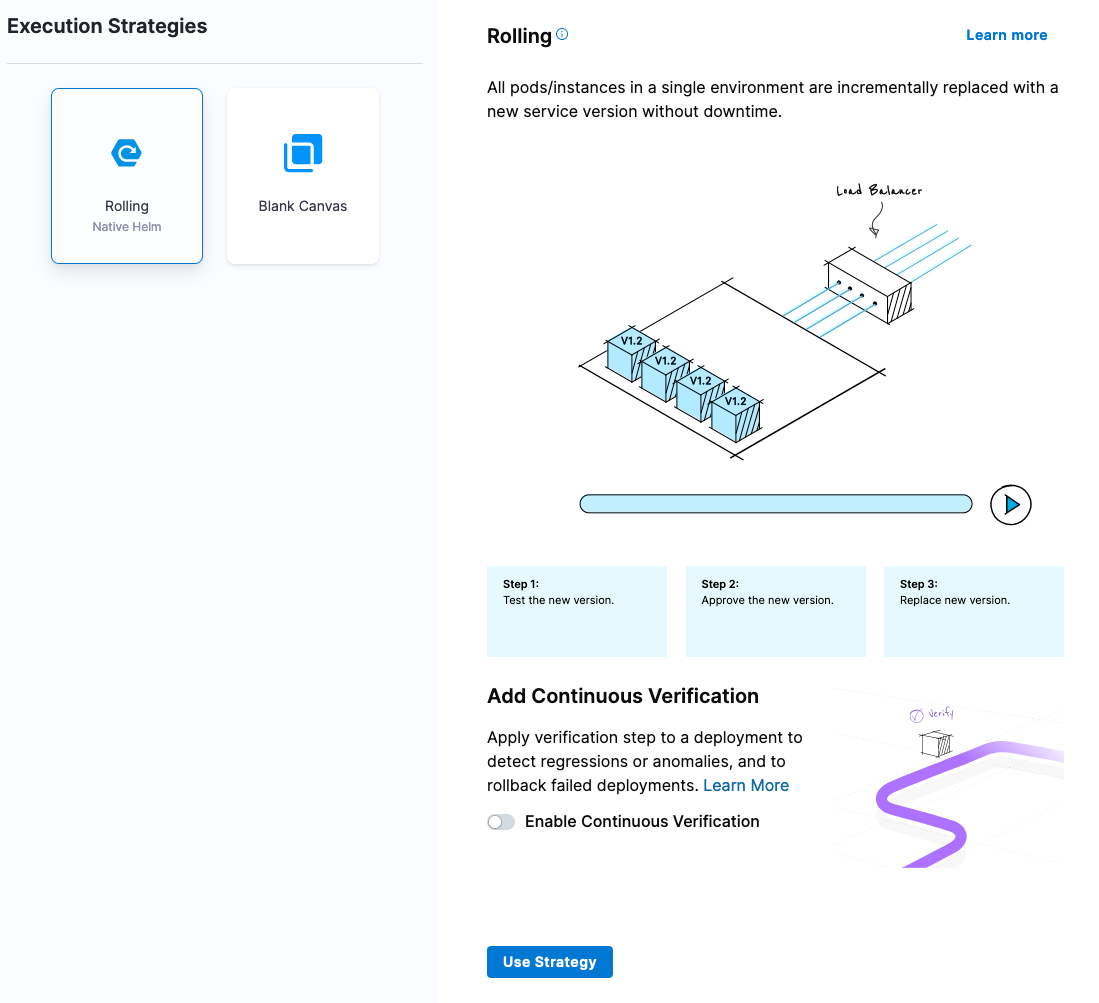
Select “Rolling” then click on Use Strategy. Now you are ready to save this Pipeline and execute the Pipeline to create a deployment e.g a Helm Release.

Click Save and you are now ready to run your Pipeline executing the Helm Chart.
Your First Pipeline Execution with Helm
Executing your Pipeline is easy. Just click Run back in the Pipelines menu and you are on your way to a Helm Release.
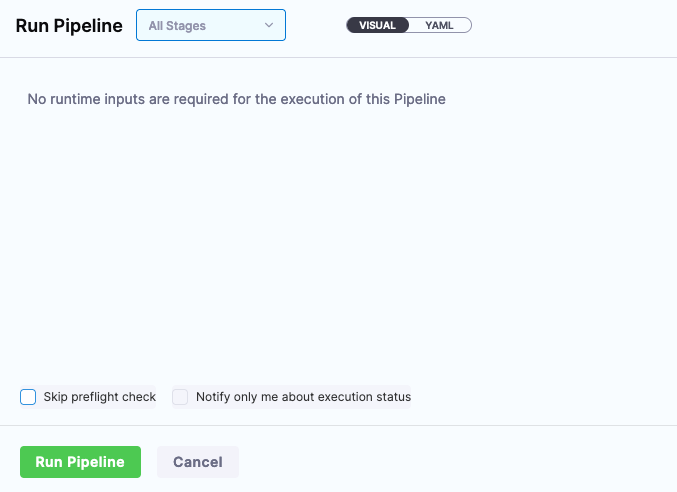
Click Run Pipeline and your Pipeline will execute. In the “Install/Upgrade” section of the console output, you will see commands to visit your new Wildfly instance.
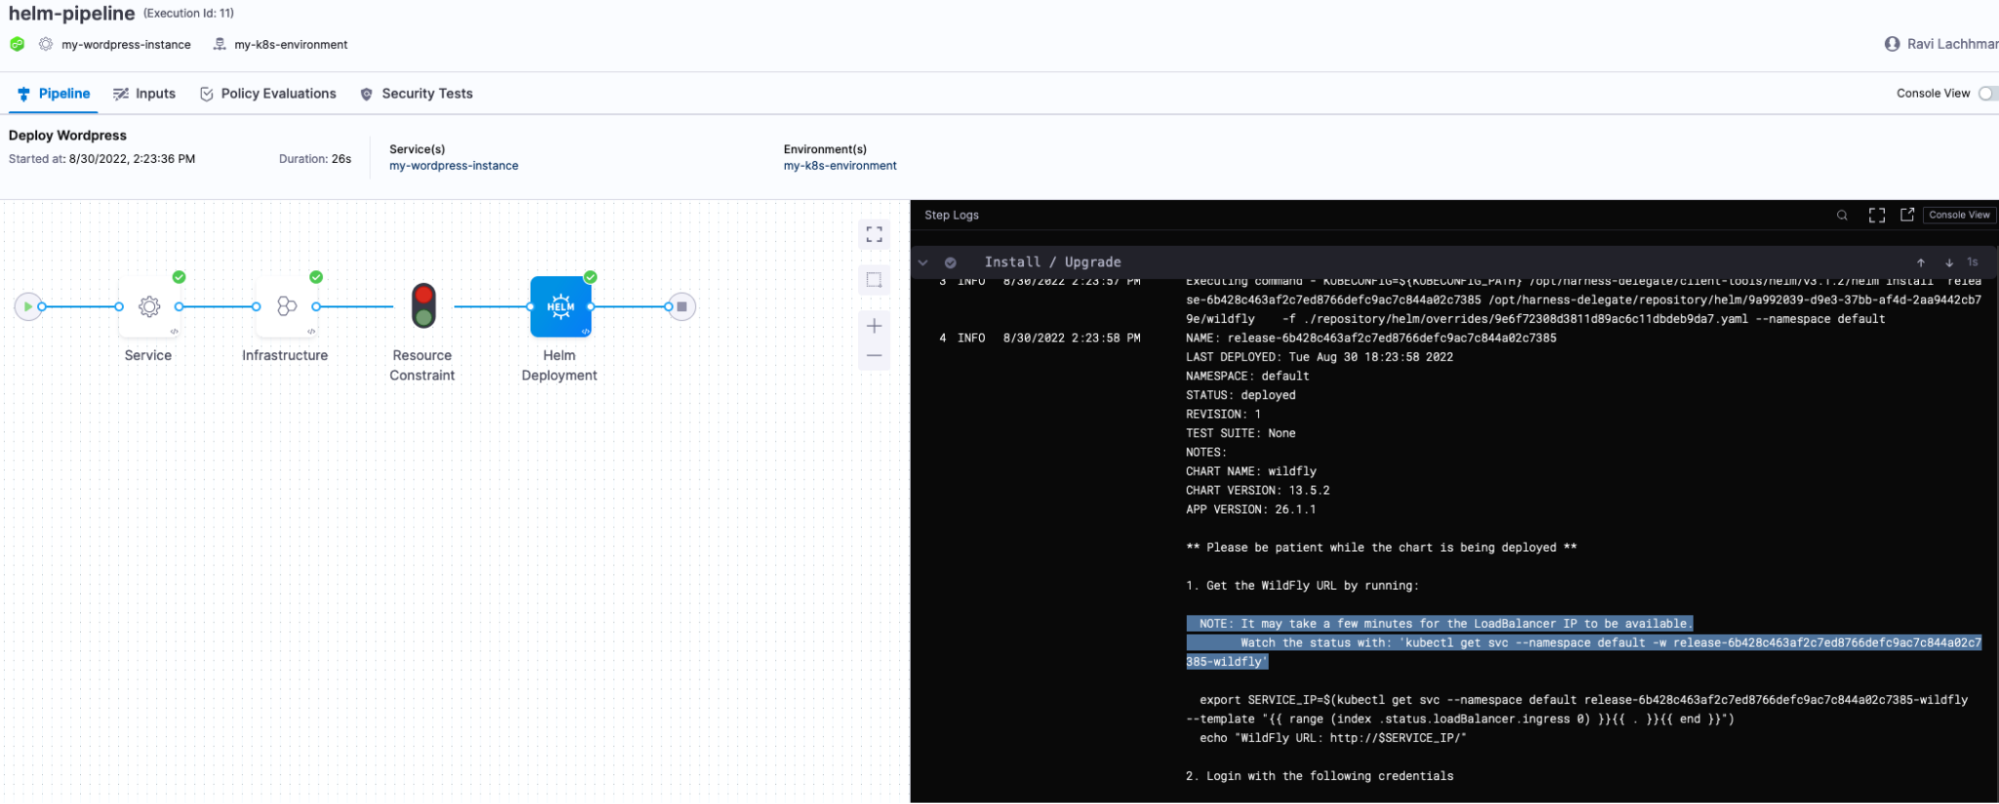
E.g.
kubectl get svc --namespace default release-6b428c463af2c7ed8766defc9ac7c844a02c7385-wildfly
Head to the External-IP and check out your new Helm Release.

Heading to http://34.123.210.140
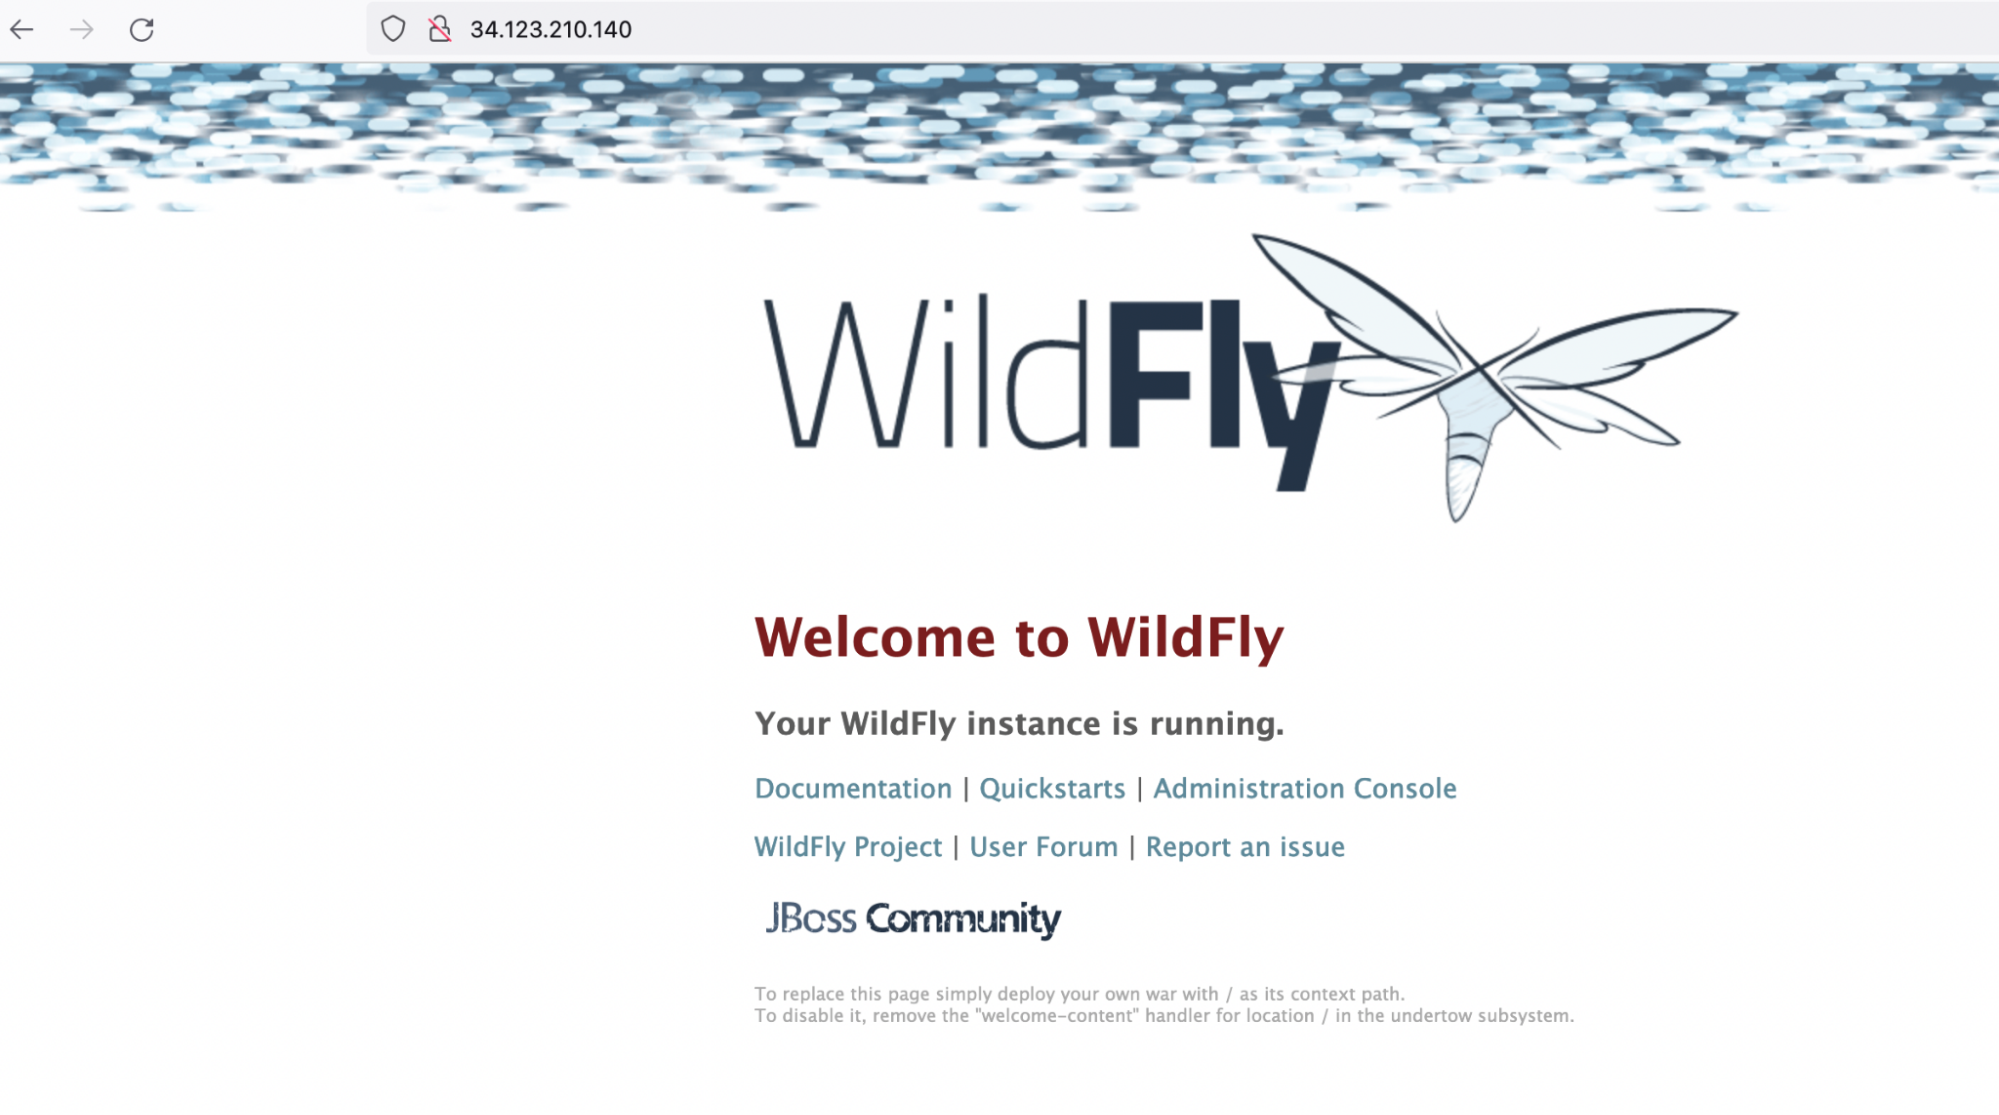
Congratulations on your first Harness Helm Deployment [release]!
Harness will install Argo CD on your behalf and connect that Argo CD instance to Harness. All you need is a Kubernetes cluster. Navigate to Deployments -> GitOps -> Settings -> GitOps Agents
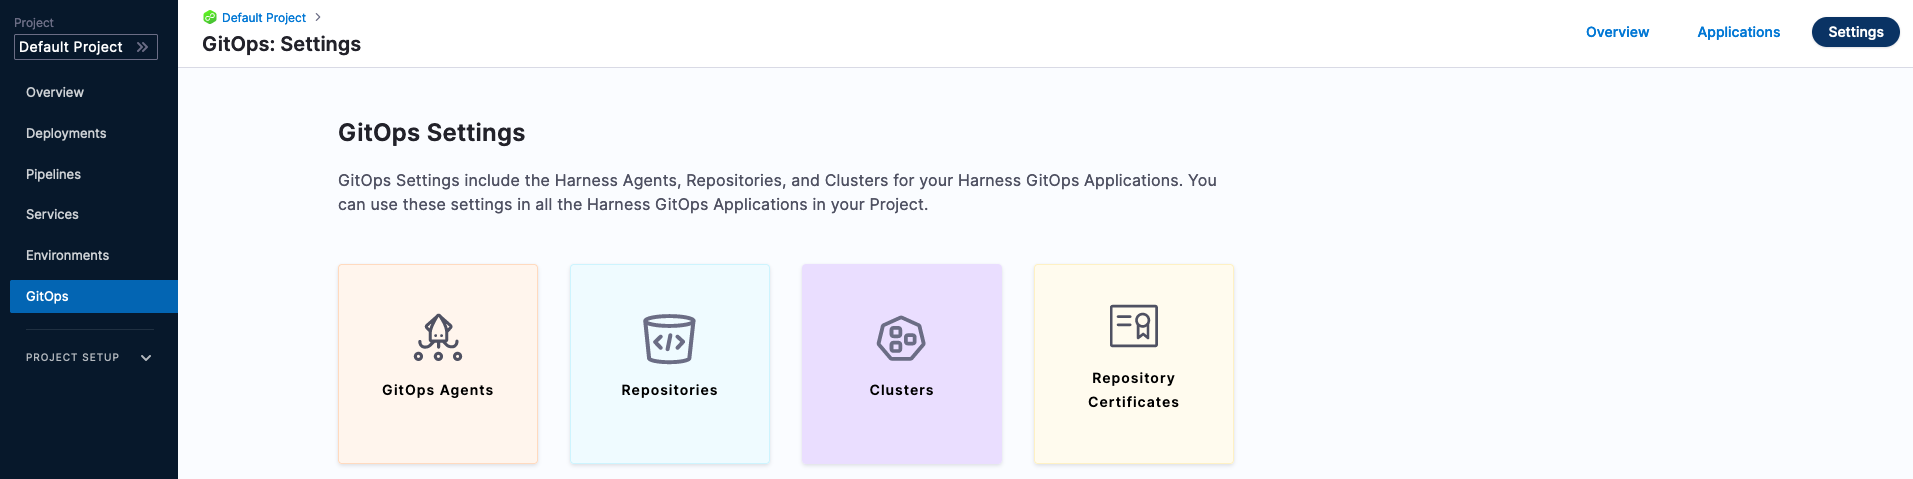
Then + New GitOps Agent. Select “No” for an existing Argo CD instance then click Start.
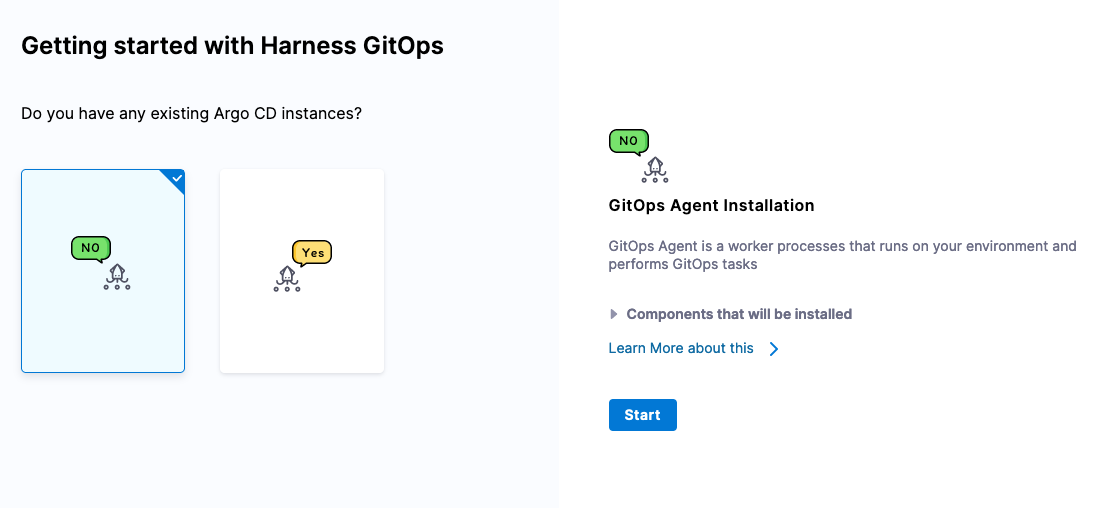
Click Start. Can name and provide an existing Namespace on the cluster for the installation.
- Name: harness-managed-argocd
- Namespace: default
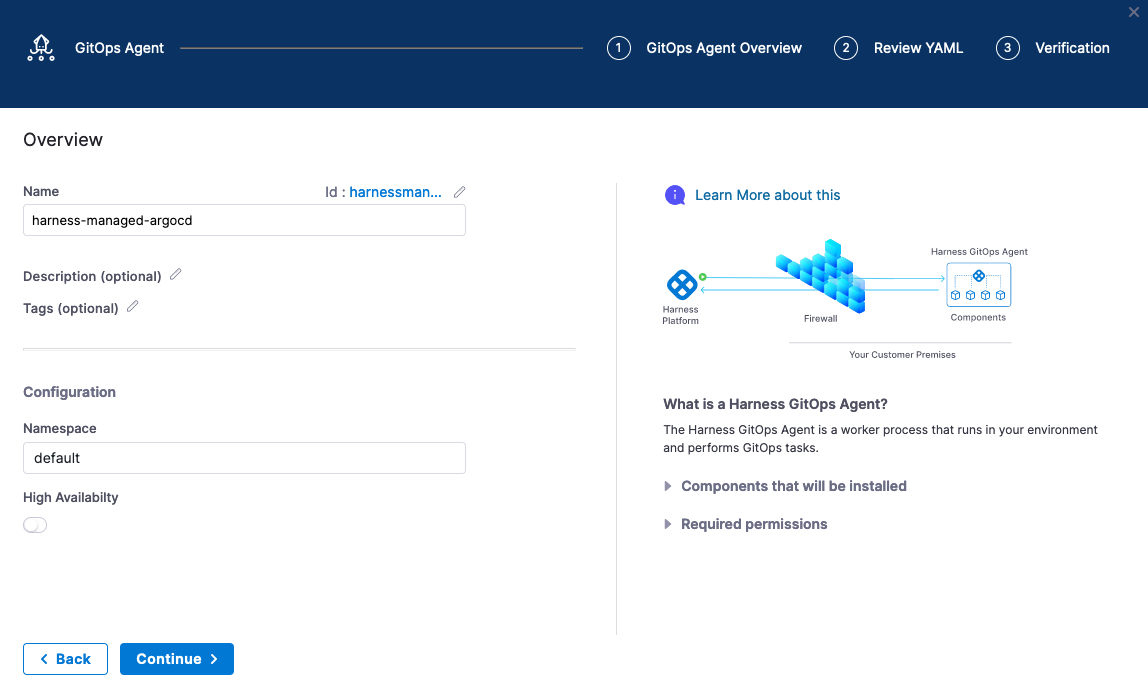
Hit continue and download the provided YAML and apply the YAML into the Kubernetes cluster where you would like Argo CD to be running.
kubectl apply -f gitops-agent.yaml -n default

After a few moments, the Verification steps will run and you can click Finish. The next step is to deploy an application with Harness GitOps.
Deploying Via Harness GitOps
If you are familiar with Argo CD, these steps will be very familiar. If you have not, no worries these steps are straightforward. Will be needing to define a what [repository], where [target], and when [synch policy] to deploy Kubernetes resources.
What to Deploy
The Argo CD project has a sample Guestbook application that is deployed via Helm. This is located at:
https://github.com/argoproj/argocd-example-apps/tree/master/helm-guestbook
First will need to connect the repository to Harness.
Deployments -> GitOps -> Settings -> Repositories + New Repository
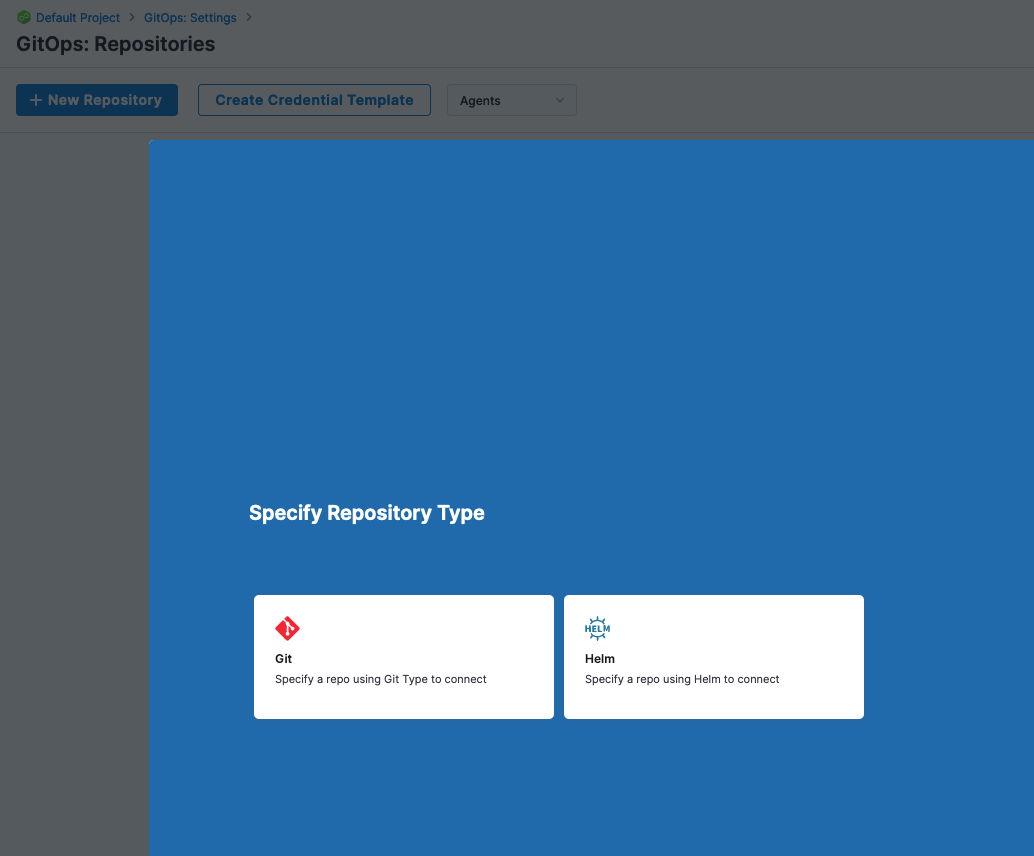
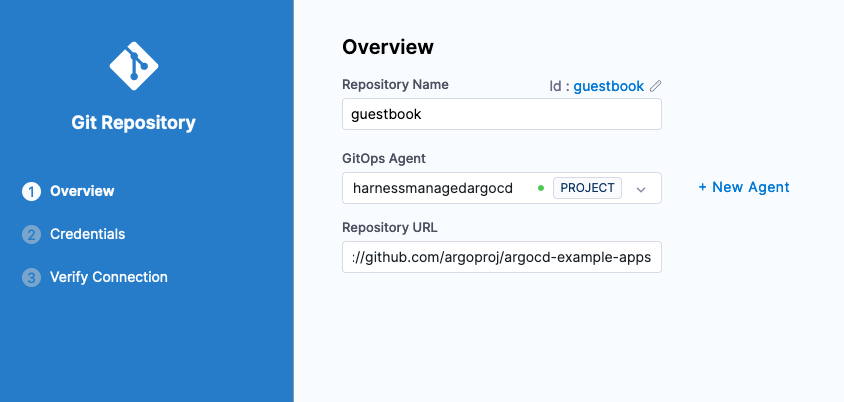
Select Git as the repository type to connect to. Fill in a few prudent details.
- Repository Name: guestbook
- GitOps Agent: A GitOps Agent You Installed
- Repository URL: https://github.com/argoproj/argocd-example-apps
Click Next and specify credentials for the repository. Since this is a public repository, anonymous access is fine.
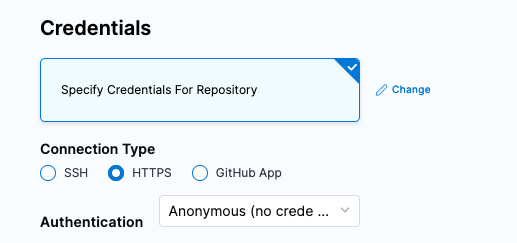
Click save and continue and a Verification will run. Click Finish and the Repository will be wired.

The next step is the where portion, or where the application will be deployed.
Where To Deploy - Kubernetes Target
Defining where to deploy is a simple process especially with a Harness GitOps Agent.
Deployments -> GitOps -> Settings -> Clusters + New Cluster
- Name: myk8scluster
- GitOps Agent: Your GitOps Agent Name
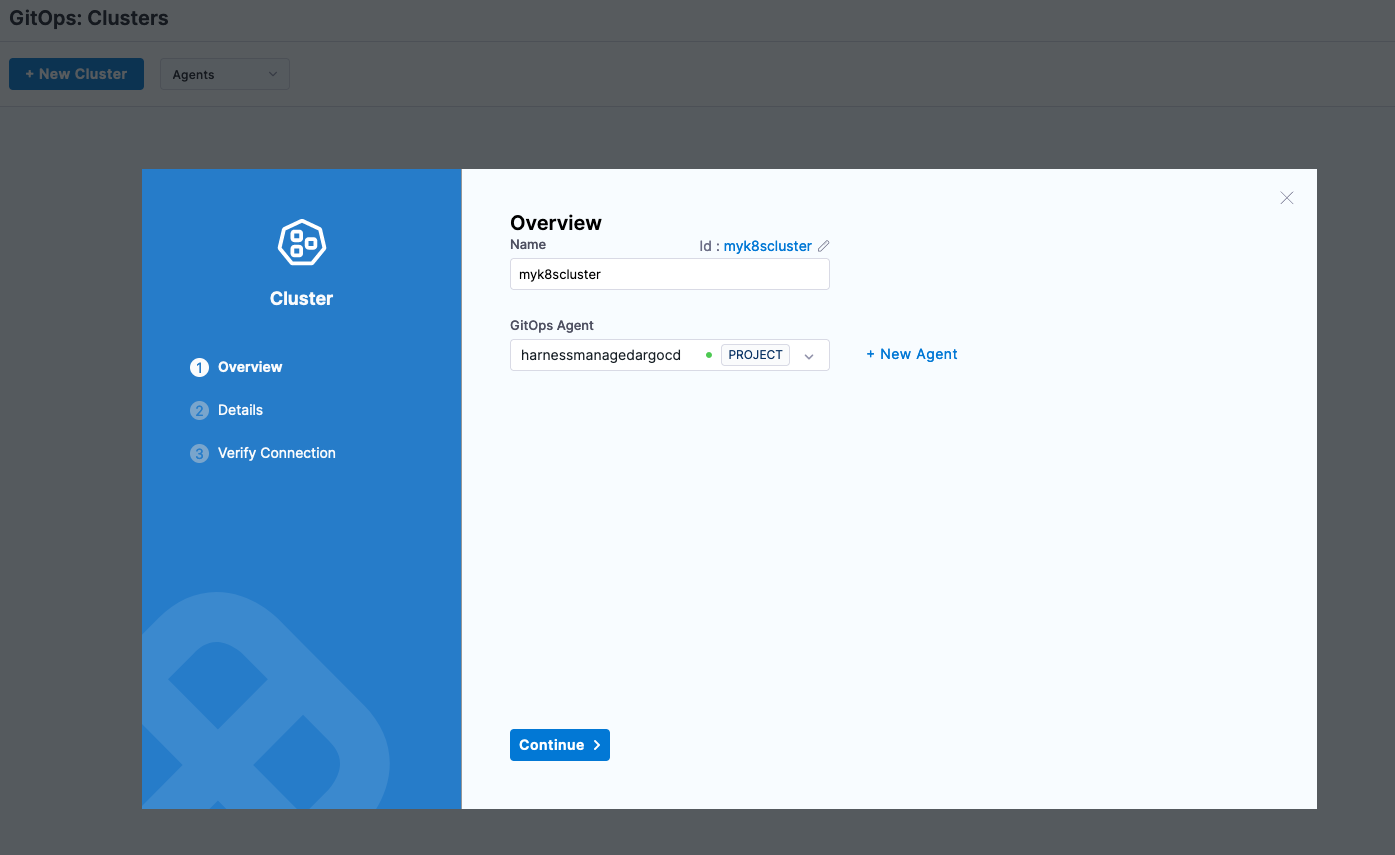
Click Continue. You can leverage the credentials of the Harness GitOps Agent to deploy on your behalf. Select that as the connection methodology.
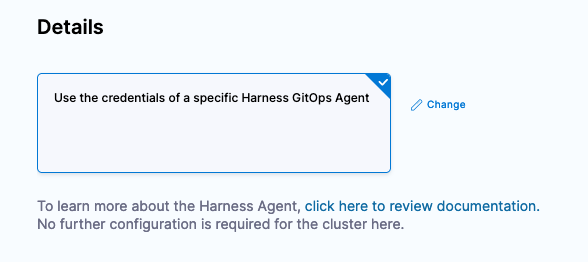
Click Finish and your Cluster will be ready to be connected into an Application, a combination of the “what” and the “where”.
Creating an Application
Creating an Application, combining the what and where to deploy covered in this step.
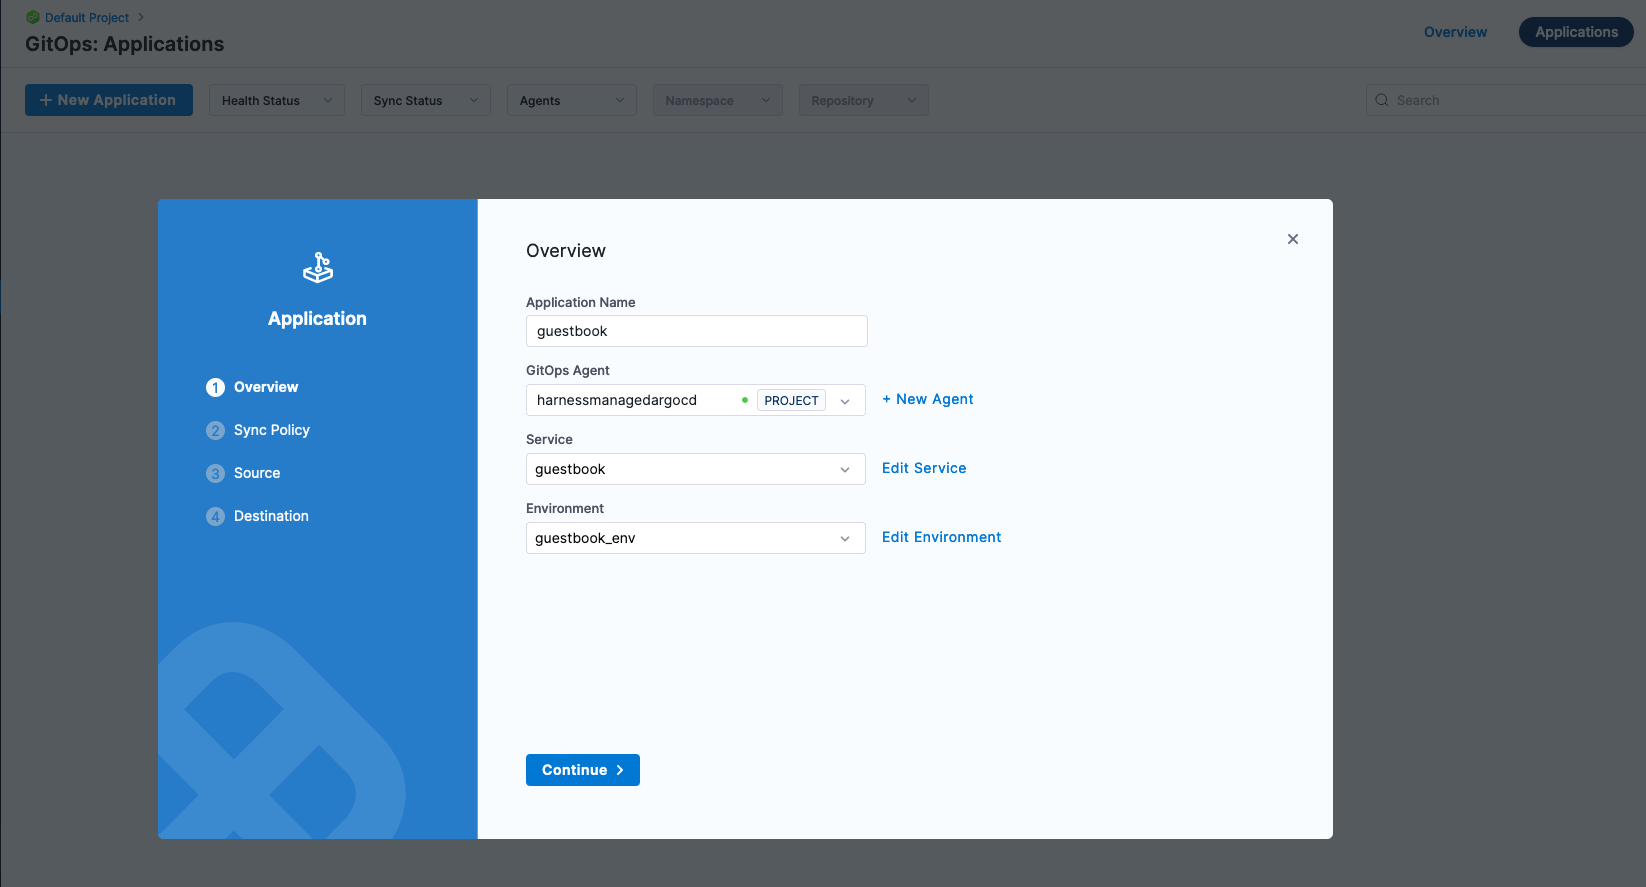
Deployments -> GitOps -> Applications + New Application
- Name: guestbook
- GitOps Agent: Your GitOps Agent Name
- Service: A Service is a logical grouping of configurations. Can click + New Service if you do not already have a Service and create a Service Name such as “guestbook”.
- Environment: An Environment is a logical grouping of infrastructure. Can click + New Environment and create an Environment Name such as “guestbook_env”.
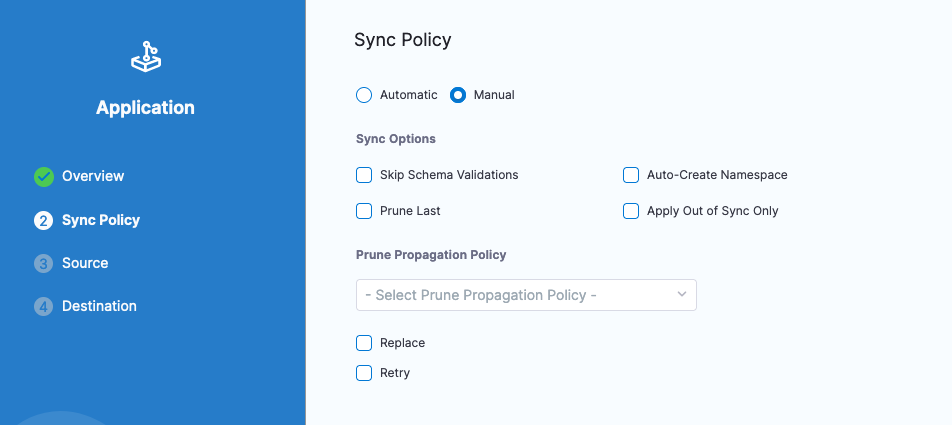
Click Next and you can choose how the repository sync occurs. Automatic will look for changes in the repository. Though since this is an example repository and you might not have publish access to the repository [you can always Fork and check out in your own repository], Manual Sync is appropriate.
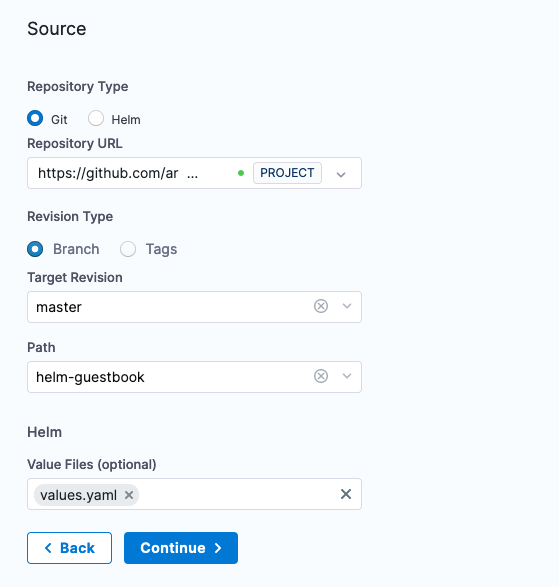
Click Continue to connect the Repository to the Application.
- Repository URL: Repo URL that was just connected [https://github.com/argoproj/argocd-example-apps]
- Revision Type: Branch
- Target Revision: master
- Path: helm-guestbook
- Value Files: values.yaml
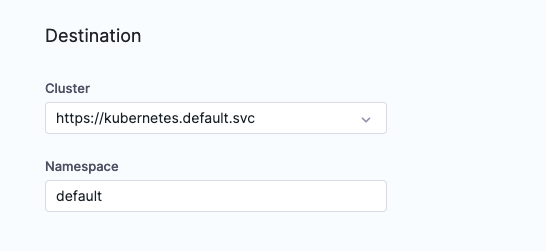
Click Continue and connect in the Cluster and Namespace Details.
- Cluster: Select the Cluster that was connected in before [default.svc is fine].
- Namespace: Define an existing Namespace, e.g default.
Click Finish and you are now ready to deploy e.g Sync.
Deploying Your Application, the GitOps Way
Now you are ready to deploy. Since the sample application is not on your cluster, your Kubernetes resources are out of synch based on the current Kubernetes cluster state and what is in the repository.
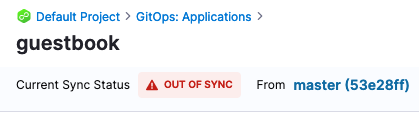
You can deploy e.g Sync the manifest(s) with the Kubernetes cluster by clicking SYNC in the top right corner.
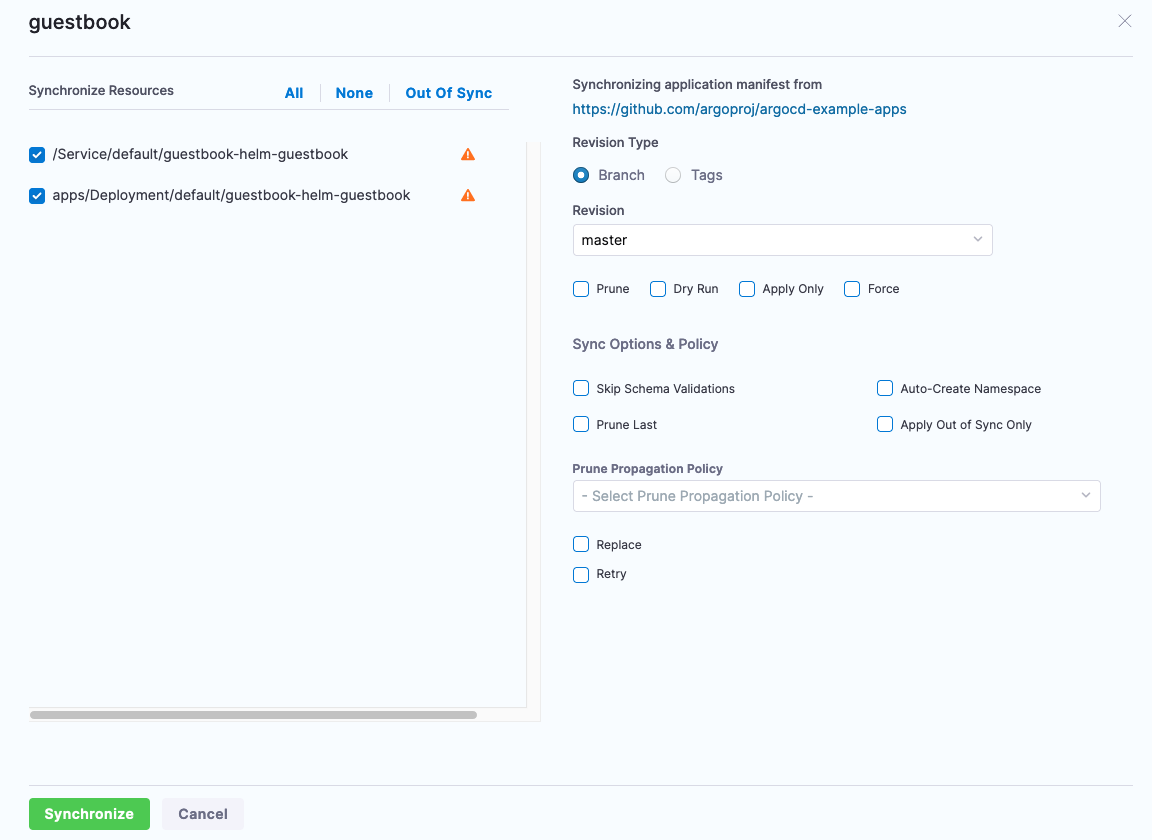
Click Synchronize and your deployment will start.
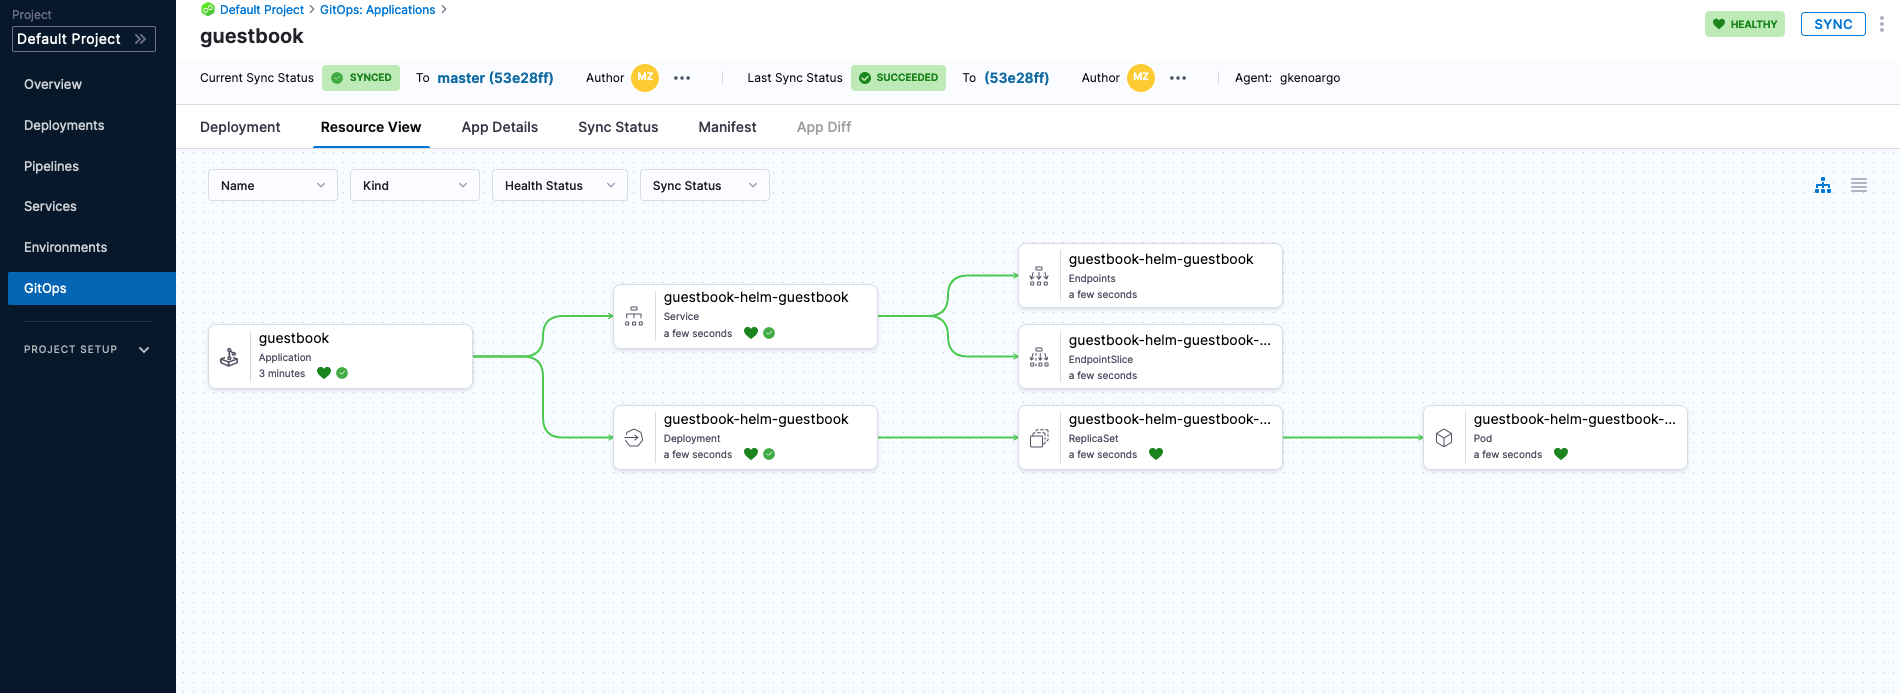
After the synchronization, your Harness GitOps deployment is complete.
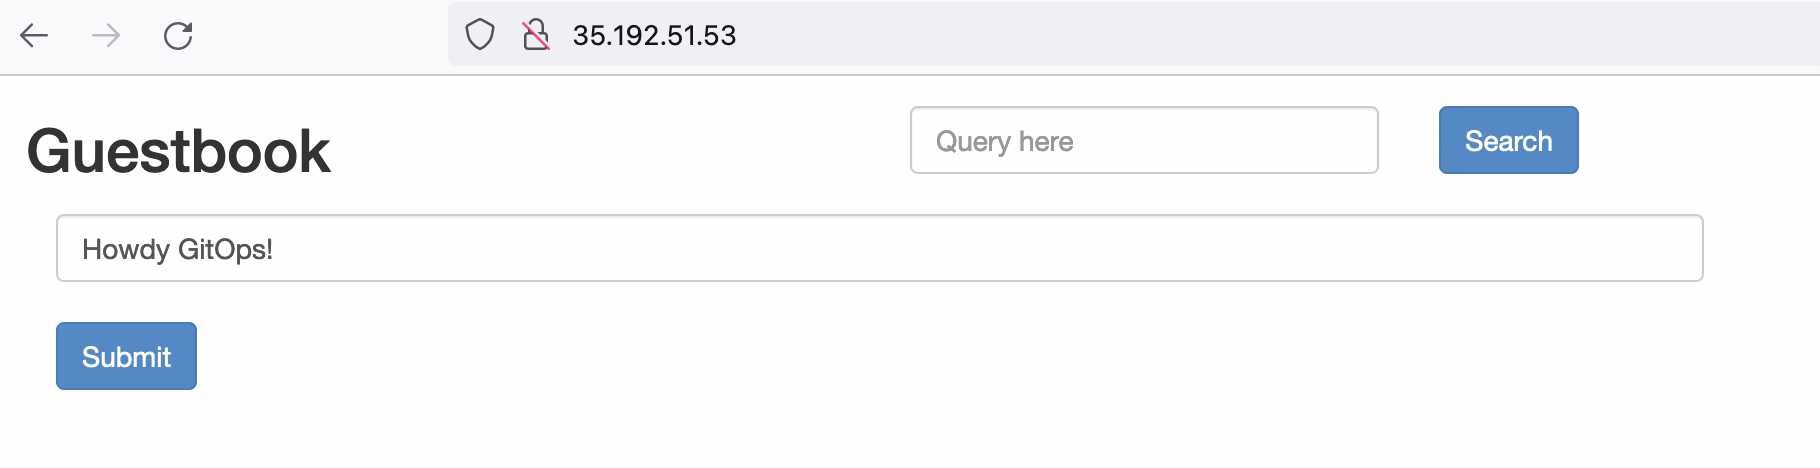
To check out Guesbook, you can expose via a Kubernetes Load Balancer and navigate to the External-IP.
kubectl patch svc guestbook-helm-guestbook -n default -p '{"spec": {"type": "LoadBalancer"}}'

kubectl get services -n default

If using a local Kubernetes cluster like minikube, you might have to run minikube tunnel to expose.
Congratulations on your GitOps deployment. The GitOps paradigm offers a lot of capabilities for Kubernetes based workloads. Harness aims to make Argo CD experience better by leveraging Argo CD as an engine and layer that with the ease of use and management capabilities that Harness provides.
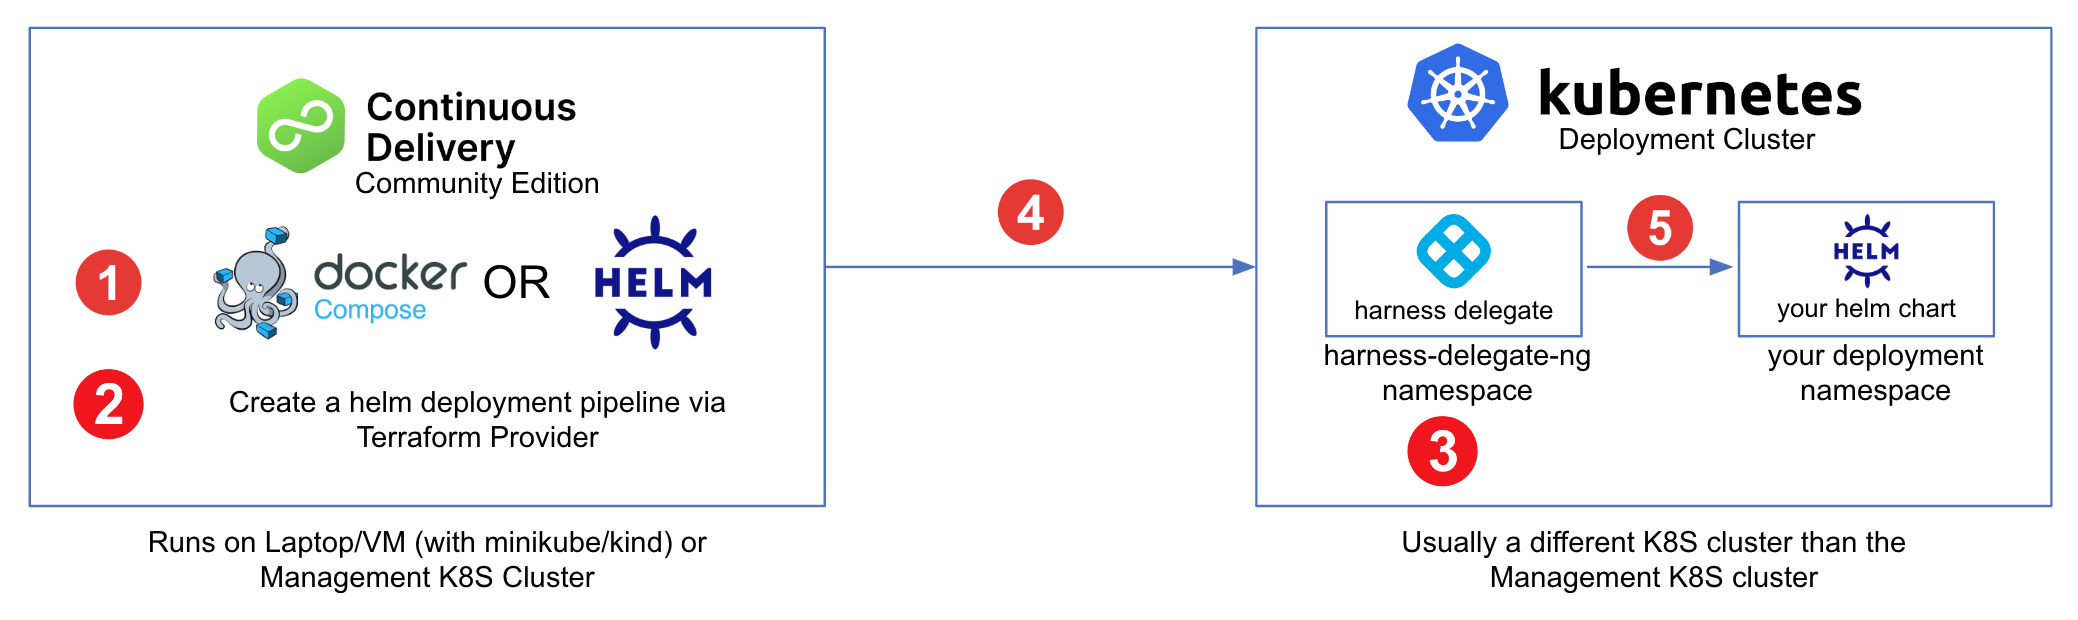
As shown in the figure below, we will perform the following steps in this tutorial.
- Install CD Community Edition (CDCE), if not already installed
- Create a Helm CD pipeline using the Terraform Provider.
- Install a delegate on the Kubernetes cluster where the helm chart will be deployed to.
- Deploy the helm chart using by running the pipelines.
- Verify the health of your deployed application.
Prerequisite
Use the Install CD Community Edition tutorial to install CDCE if you have not done so yet.
Create Helm CD Pipeline with Terraform Provider
Now that CDCE is up and running, we will create a CD pipeline that will deploy a helm chart onto a different Kubernetes cluster (usually known as the deployment target or infrastructure). You can always set this up in the pipeline studio which will also include creating other Harness resources like service, environment and connectors. Instead, we will use the popular Harness Terraform Provider to automate this process for us. Instructions for onboarding an new application into Harness using Terraform are available in this tutorial.
Install Kubernetes Delegate
We will now to install a delegate named firstk8sdel on the Kubernetes cluster that is the deployment target using the Install Delegate tutorial. Note that if you have installed CDCE on a Kubernetes cluster then you can reuse the same cluster as this deployment cluster. However, the cluster should have enough underlying resources to run CDCE (in namespace harness), a delegate (in namespace harness-delegate-ng) and the helm chart you will be deploying (in the namespace of your choice) via CDCE.
Run Pipeline to Deploy Helm Chart
Login to CDCE UI and click into the Project. Click on the pipeline and then click Run. You will see that the wildfly helm chart from https://charts.bitnami.com/bitnami will be pulled by the delegate you had installed and it will deploy into the default namespace of the Kubernetes cluster. You can always change the helm chart and its deployment namespace to your own application.