Build, test, and publish a Docker image for a sample React application
What is Continuous Integration?
Continuous Integration is an approach to development of software where changes in the codebase are continuously merged into a shared repository or branch. The combined codebase is then built into a test application over which automated tests are run to find and track any potential bug. The discovered application defects are then turned back over to the developers to fix.
The objectives of any CI process is to:
- Find bugs faster.
- Reduce time for software validation and releases.
- Ensure higher product quality.
In this tutorial we'll be working on a React application hosted in GitHub. Check out the codebase of the application here.
First, we'll understand how we can build our application locally and push the Docker image to Docker Hub and then create a Harness CI pipeline to automate the entire process implementing the following functions:
- Build and test the sample react application.
- Build the Docker image and publish it on Docker Hub.
If you don't have a Harness account yet, you can create one for free at app.harness.io.
How to build the app locally
To create a new React project you can use the tool npx, provided you have an npm version of at least 5.2. In this case we already have the project set up and the project structure is given below:
react-sample-app
├── README.md
├── node_modules
├── package.json
├── package-lock.json
├── .gitignore
├── Dockerfile
├── nginx
├── LICENSE
├── public
└── src
We'll need NPM and Docker to build and package our application. If you don’t have those runtimes, on a Windows Machine, you can use Chocolatey to install, or if using a Mac, Homebrew.
In this guide we'll be using Docker to store our application as an image. Docker makes it very easy for other peers to use the application with the support of the different Docker registries that are available in the market. Here we'll be using Docker Hub as the Docker registry. If you do not have a registry available to you, you can create a Docker Hub account and create a repository, for example, "test-react".
Use the below command format to build you Docker image locally and then push the image to Docker Hub registry:
docker build --tag your_user/repo:tag .
docker push your_user/repo:tag
For example, in my case, at the root of the project:
docker build --tag harnesscommunity/test-react:latest .
docker push harnesscommunity/test-react:latest

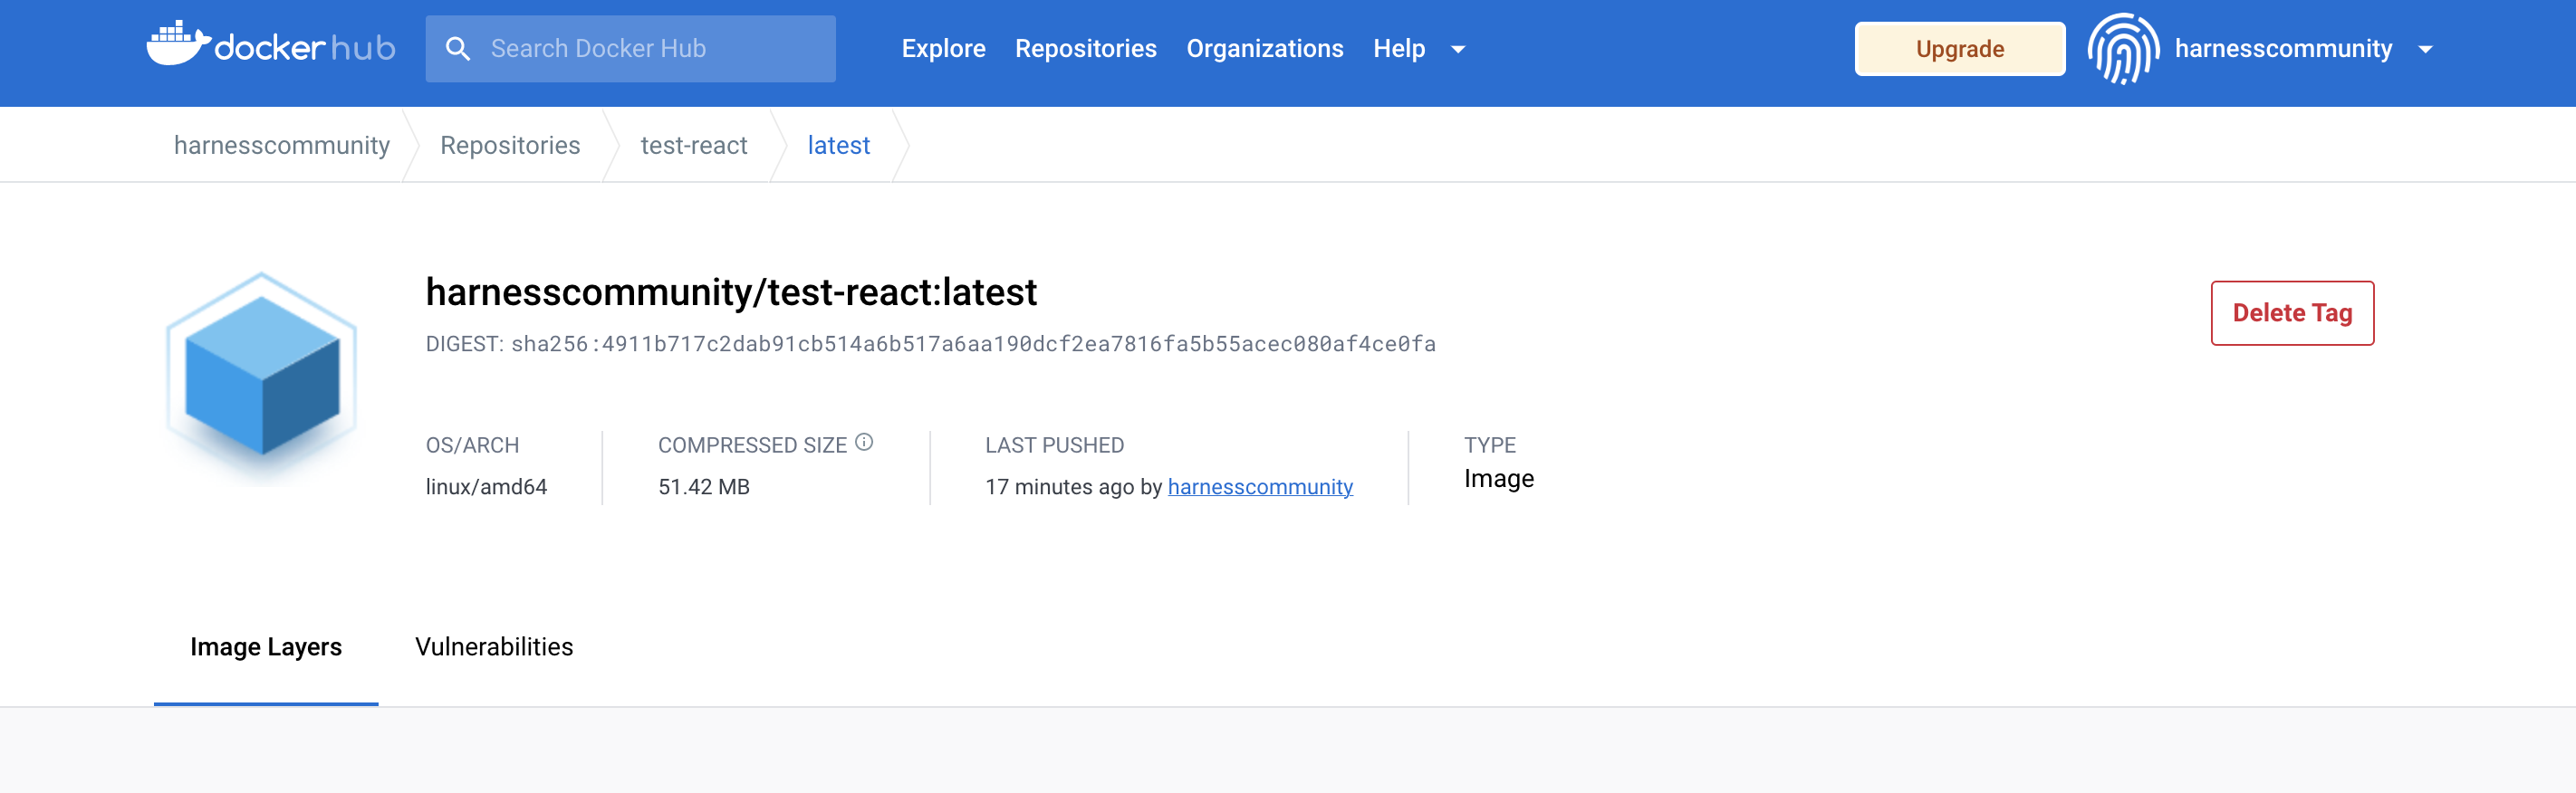
You can validate that this has been placed into the Docker Registry.
Create your pipeline
- Fork the repository https://github.com/harness-community/react-pipeline-sample into your GitHub account.
- Follow the Get Started wizard in Harness CI.
- New account
- Existing account
- Sign up for a new Harness account. Select the Continuous Integration module after your initial sign-in. This brings you to the Get Started wizard.
- Log in to your Harness account. You can either create a new project or select an existing project, and then select the Continuous Integration module. In the Project pane, expand the Project Setup menu, and then select Get Started.
- When you are prompted to select a repository, search for react-pipeline-sample, select the repository that you forked in the previous step, and then select Configure Pipeline.
- Select Starter Pipeline, and then select Create Pipeline.
Docker Hub connector
You need a Docker Hub connector. This connector is used to establish the communication between the Docker registry, for example, Docker Hub in this tutorial and Harness CI App.
If you have not created a Docker Hub connector yet, follow these steps.
Create connector
- From the left pane, expand the Project Setup, and then select Connectors.
- Select + New Connector, and then select Docker Registry.
- In the Name field, enter Docker Hub, and then select Continue.
- In the Docker Registry URL field, enter https://index.docker.io/v2/.
- For Provider Type, select Docker Hub.
- In the Username field, enter your Docker Hub username.
- In the Password field, select Create or Select a Secret. Follow the prompts to add your Docker Hub access token, and then click Continue.
- At the next screen, select Connect through Harness Platform, and then select Save and Continue.
- After Harness performs a validation test, select Finish.
- In your list of connectors, note the ID of the connector that you just created. If you named the connector
Docker Hub, the ID should beDocker_Hub.
The Docker connector needs an access token with Read, Write, Delete permissions.
Modify the pipeline
From the left pane, select Pipelines, and then select your react-pipeline-sample pipeline from the list.
Switch from the Visual view to the YAML view, and then select Edit YAML. (By default the YAML editor is on read mode. Here you'll need to enable the edit option for YAML editor)
A starter pipeline is created with a single stage. It should look similar to this:
pipeline:
  name: Build react sample pipeline
  identifier: Build_react_sample_pipeline
  orgIdentifier: default
  stages:
    - stage:
        name: Build
        identifier: Build
        type: CI
        spec:
          cloneCodebase: true
          execution:
            steps:
              - step:
                  type: Run
                  name: Echo Welcome Message
                  identifier: Run
                  spec:
                    shell: Sh
                    command: echo "Welcome to Harness CI"
          platform:
            os: Linux
            arch: Amd64
          runtime:
            type: Cloud
            spec: {}
  properties:
    ci:
      codebase:
        connectorRef: account.Github_OAuth
        repoName: your_user/react-sample-pipeline
        build: <+input>
- Replace the sample
stagessection with the followingvariablesandstagessections:
  variables:
    - name: DOCKERHUB_USERNAME
      type: String
      description: Your Docker Hub username
      value: <+input>
  stages:
    - stage:
        name: Build
        identifier: Build
        type: CI
        spec:
          cloneCodebase: true
          execution:
            steps:
              - step:
                  type: Run
                  name: install node modules
                  identifier: install_node_modules
                  spec:
                    shell: Sh
                    command: npm install
              - step:
                  type: Run
                  name: build app
                  identifier: build_app
                  spec:
                    shell: Sh
                    command: npm run build
              - step:
                  type: Run
                  name: run tests
                  identifier: run_tests
                  spec:
                    shell: Sh
                    command: "npm run test"
              - step:
                  type: BuildAndPushDockerRegistry
                  name: Build and Push an image to Docker Registry
                  identifier: BuildandPushanimagetoDockerRegistry
                  spec:
                    connectorRef: harnesscommunitydocker
                    repo: <+pipeline.variables.DOCKERHUB_USERNAME>/test-react
                    tags:
                      - <+pipeline.sequenceId>
          platform:
            os: Linux
            arch: Amd64
          runtime:
            type: Cloud
            spec: {}
This configuration requires the Docker Hub connector ID to be Docker_Hub. If your connector ID is different, replace Docker_Hub with the correct ID.
- Select Save in the YAML editor.
Run your pipeline
- In the Pipeline Studio, select Run.
- Enter your Docker Hub username in the
DOCKERHUB_USERNAMEfield. - In the Build Type field, select Git Branch, and then enter main in the Branch Name field.
- Select Run Pipeline.
- Observe each step of the pipeline execution. When the first stage completes, test results appear on the Tests tab.
For a comprehensive guide on application testing, Harness provides O'Reilly's Full Stack Testing book for free at https://harness.io/resources/oreilly-full-stack-testing.