OpenVAS scanner reference
Security step settings
You can set up OpenVAS scans using a Security step: create a CI Build or Security Tests stage, add a Security step, and then add the setting:value pairs as specified below.
Security step dialog box
Here's an example of how to set up a scan in a Security step. scan_type and policy_type are scanner-specific; the other settings are common to scans of container images.
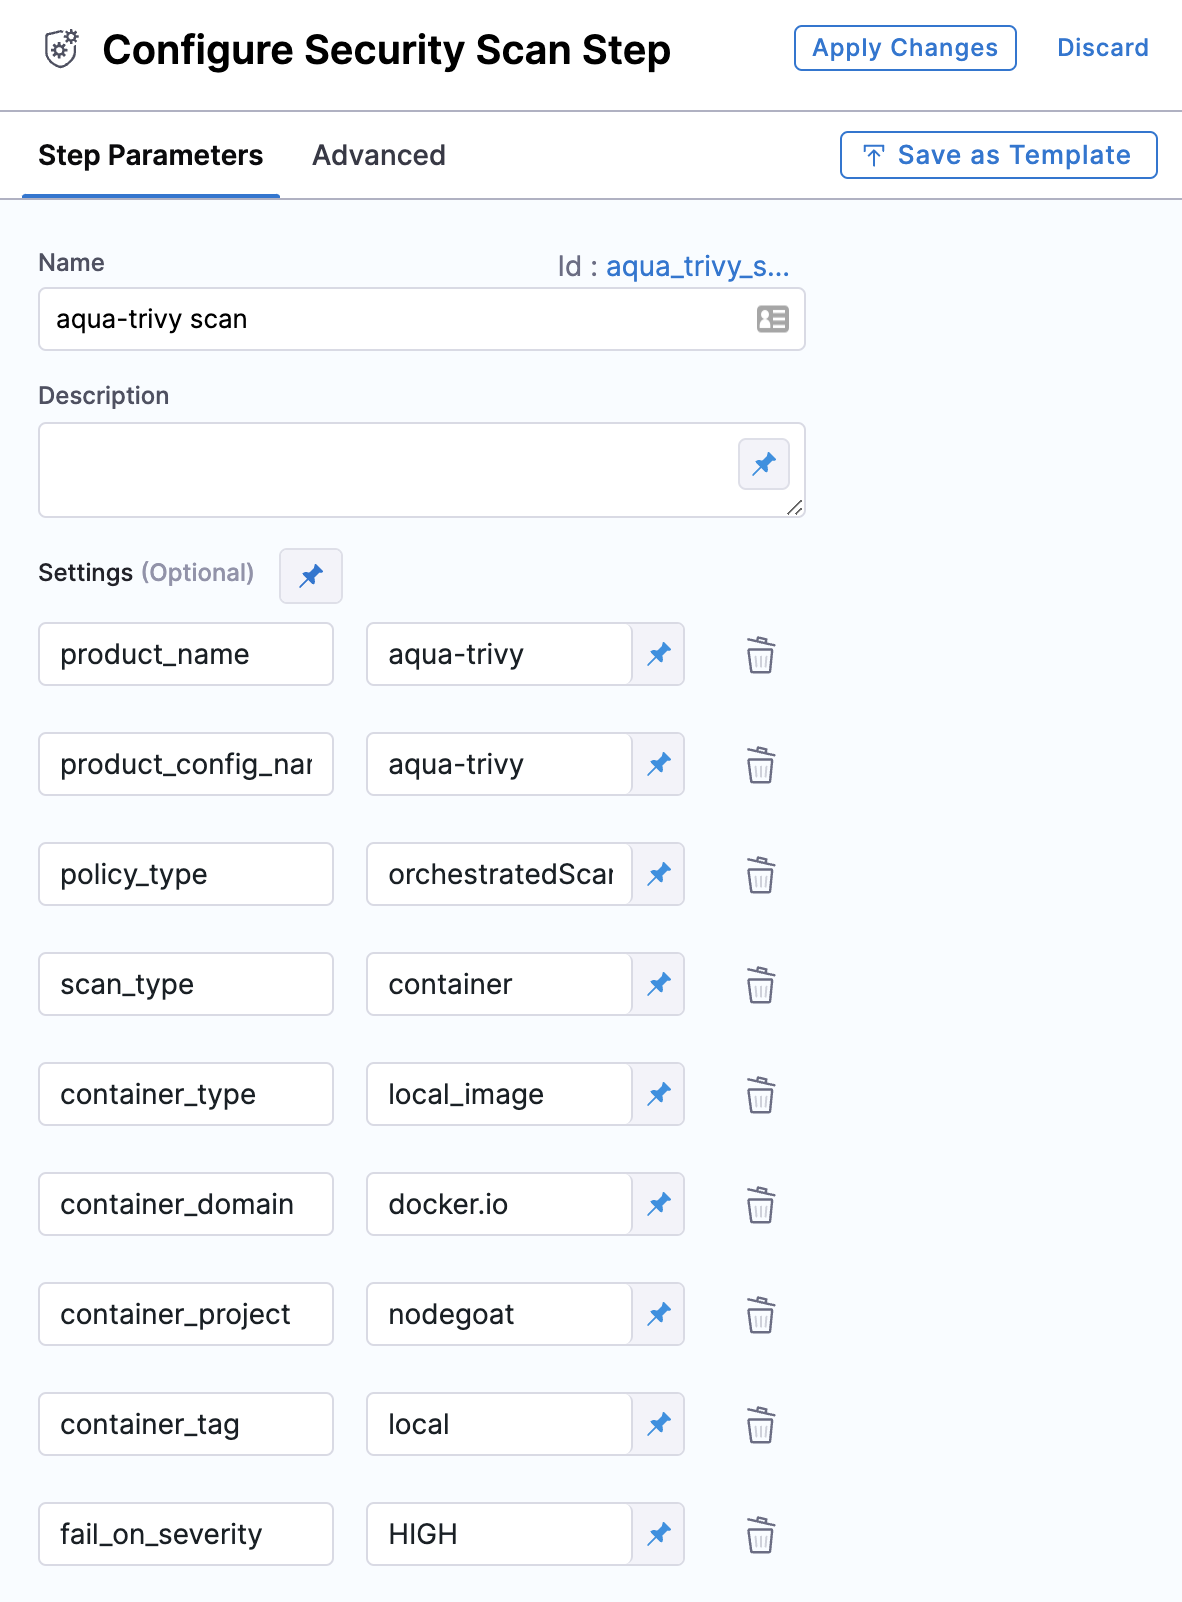
product_name=openvasscan_type=instancepolicy_type=orchestratedScanoringestionOnlyproduct_domainproduct_access_idproduct_access_tokenproduct_config_name- Accepted values(s):
host-discovery— Do a host discovery scan on the networknetwork-discovery— Do a network discovery scanfull-and-very-deep— Do a full and very deep discovery scanopenvas-system-discovery— Do a system discovery scan on the networkdefault
- Accepted values(s):
fail_on_severity- See Fail on Severity.
Instance scan settings
The following settings apply to Security steps where the scan_type is instance.
instance_identifier(required)instance_environment(required)instance_domaininstance_pathinstance_protocolinstance_portinstance_type=website
Ingestion scan settings
The following settings are required for Security steps where the policy_type is ingestionOnly.
target nameThe Identifier that you want to assign to the target you’re scanning in the pipeline. Use a unique, descriptive name such as codebaseAlpha or jsmith/myalphaservice.variantAn identifier for a specific target to scan, such as the branch name or image tag. This identifier is used to differentiate or group results for a target. Harness maintains a historical trend for each variant.ingestion_fileThe results data file to use when running an Ingestion scan. You should specify the full path to the data file in your workspace, such as/shared/customer_artifacts/my_scan_results.json.
The following steps outline the general workflow for ingesting scan data into your pipeline:
Specify a shared folder for your scan results, such as
/shared/customer_artifacts. You can do this in the Overview tab of the Security stage where you're ingesting your data.Create a Run step that copies your scan results to the shared folder. You can run your scan externally, before you run the build, or set up the Run step to run the scan and then copy the results.
Add a Security step after the Run step and add the
target name,variant, andingestion_filesettings as described above.
For a complete workflow description and example, go to Ingest Scan Results into an STO Pipeline.
Fail on Severity
Every Security step has a Fail on Severity setting. If the scan finds any vulnerability with the specified severity level or higher, the pipeline fails automatically. You can specify one of the following:
CRITICALHIGHMEDIUMLOWINFONONE— Do not fail on severity
The YAML definition looks like this: fail_on_severity : critical # | high | medium | low | info | none